Recreate Digital images with a touch of vintage magic
In the world of photography, digital and film styles have always existed as two distinct realms, each with its own unique appeal. Yet, there's something undeniably captivating about the timeless aesthetic of vintage film photography. The good news is that you don't have to be a film aficionado to infuse your digital images with that classic charm. Welcome to the enchanting world of "Faux-Film," where you can recreate the look of analog film using digital tools while enjoying an array of delightful benefits.
The Allure of Faux-Film
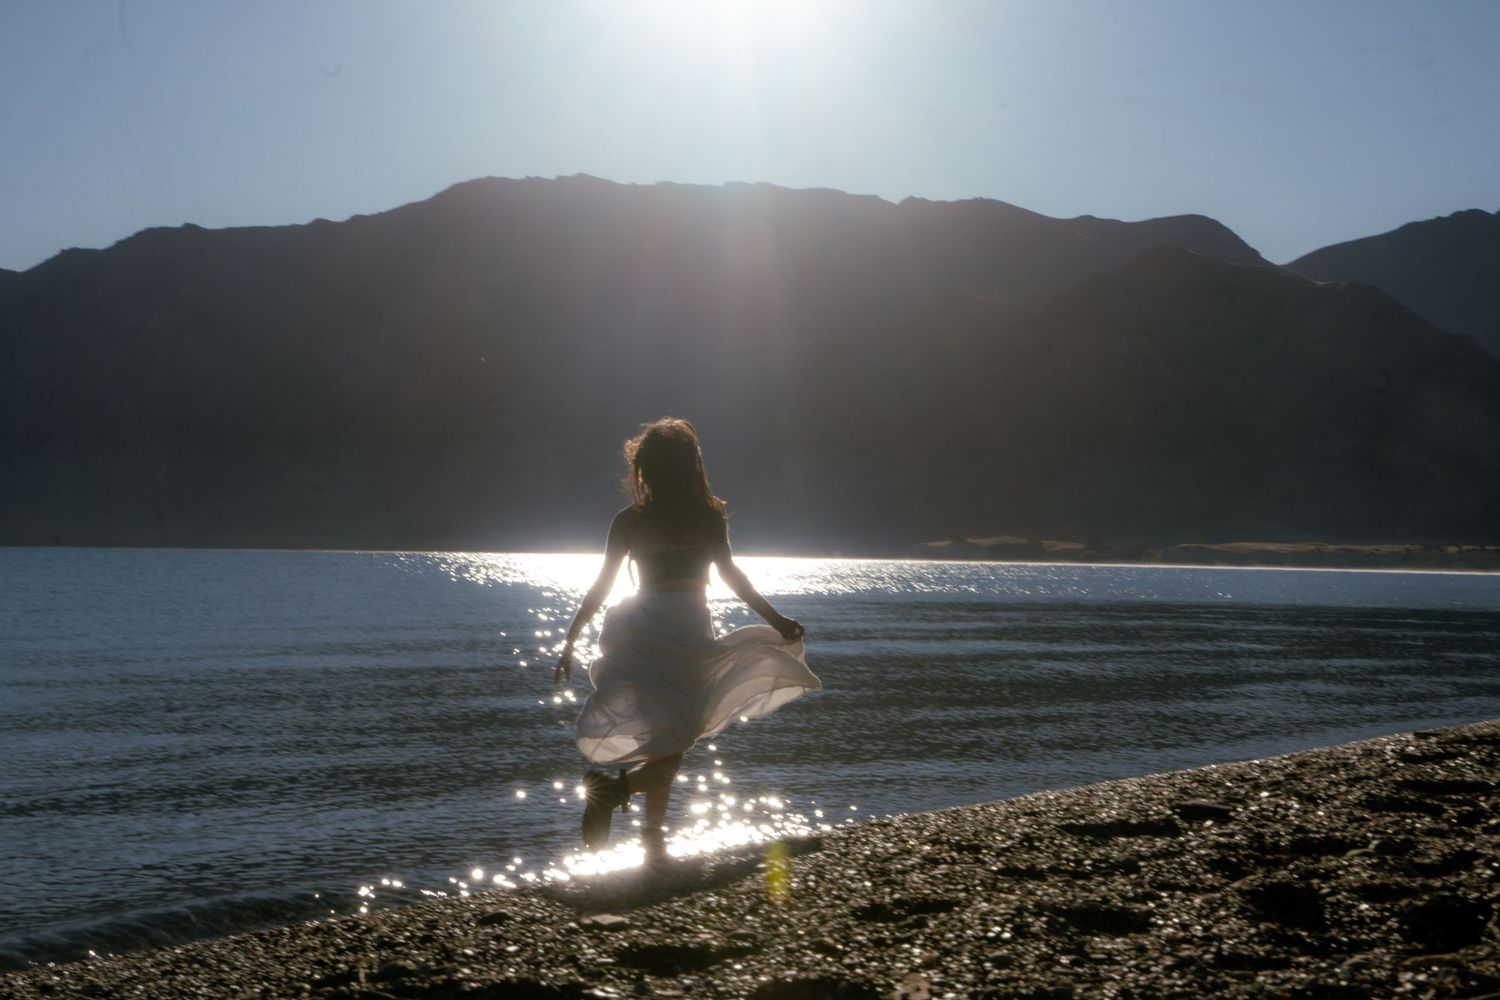
Film photography enthusiasts often boast about the rich colors, gentle grain, and nostalgic feel that characterise their medium. Faux-Film brings this allure to your digital images, lending them an artistic vintage quality that transports viewers to another era. It's an opportunity to imbue your work with emotion, lending a timeless aura to everyday moments.
I've always said "Digital photography captures what is happening in the moment. Film photography captures how you feel in that moment"
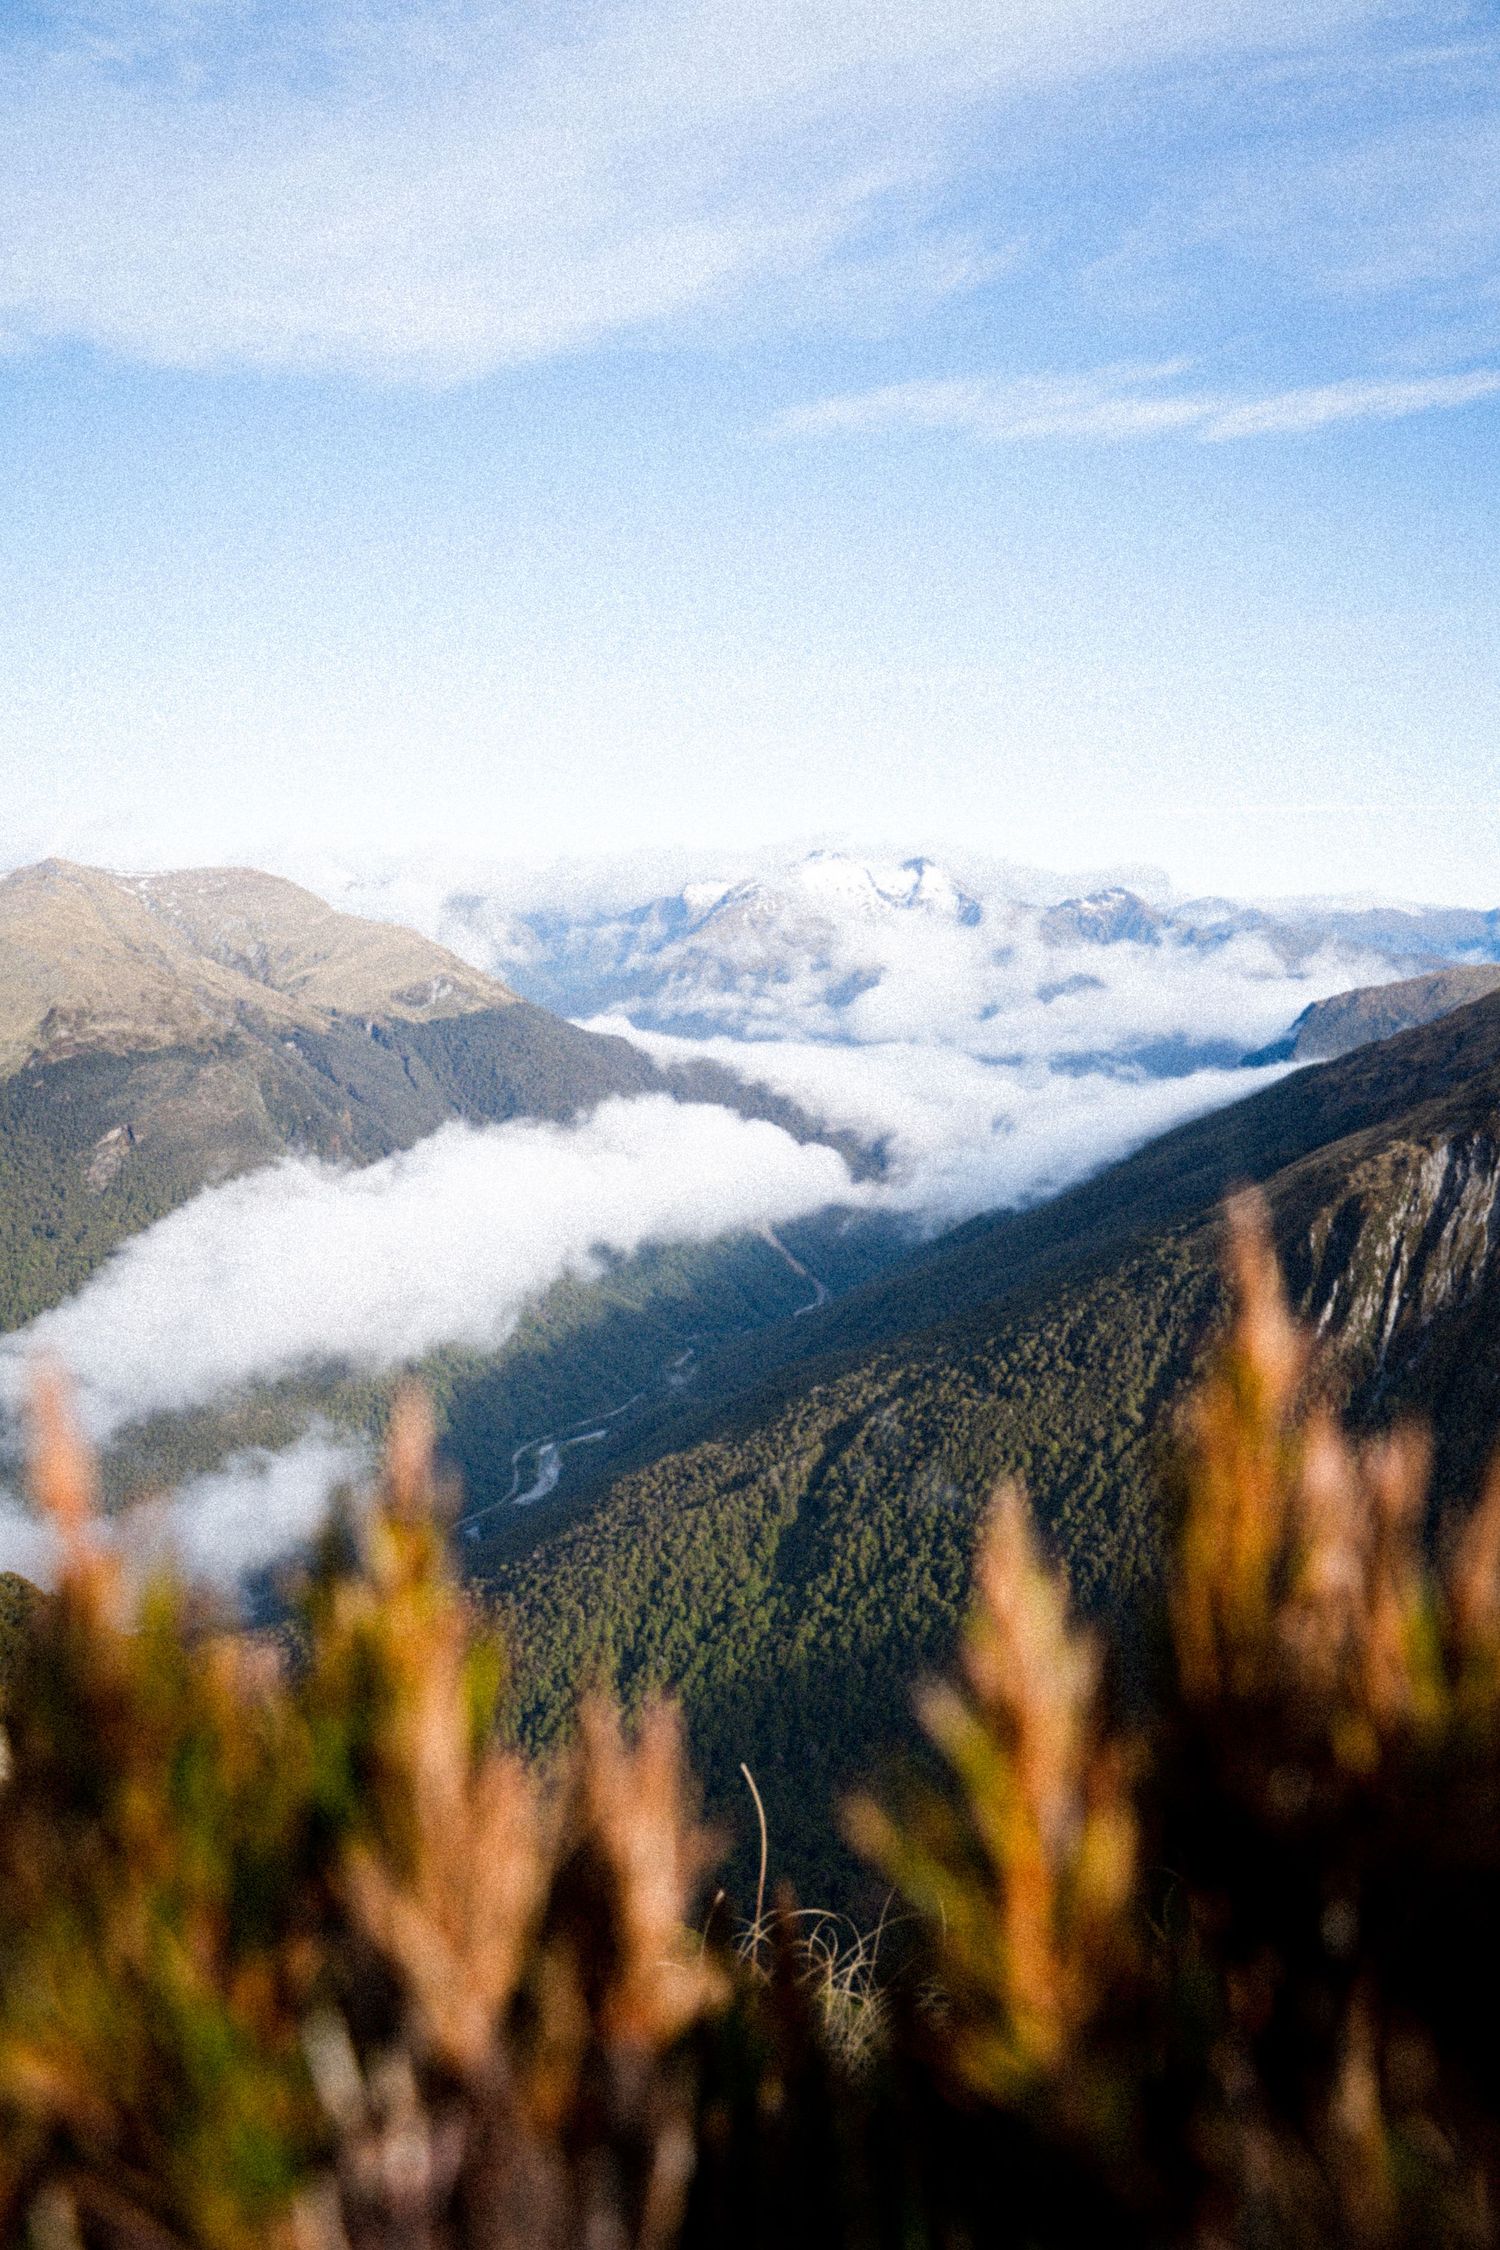
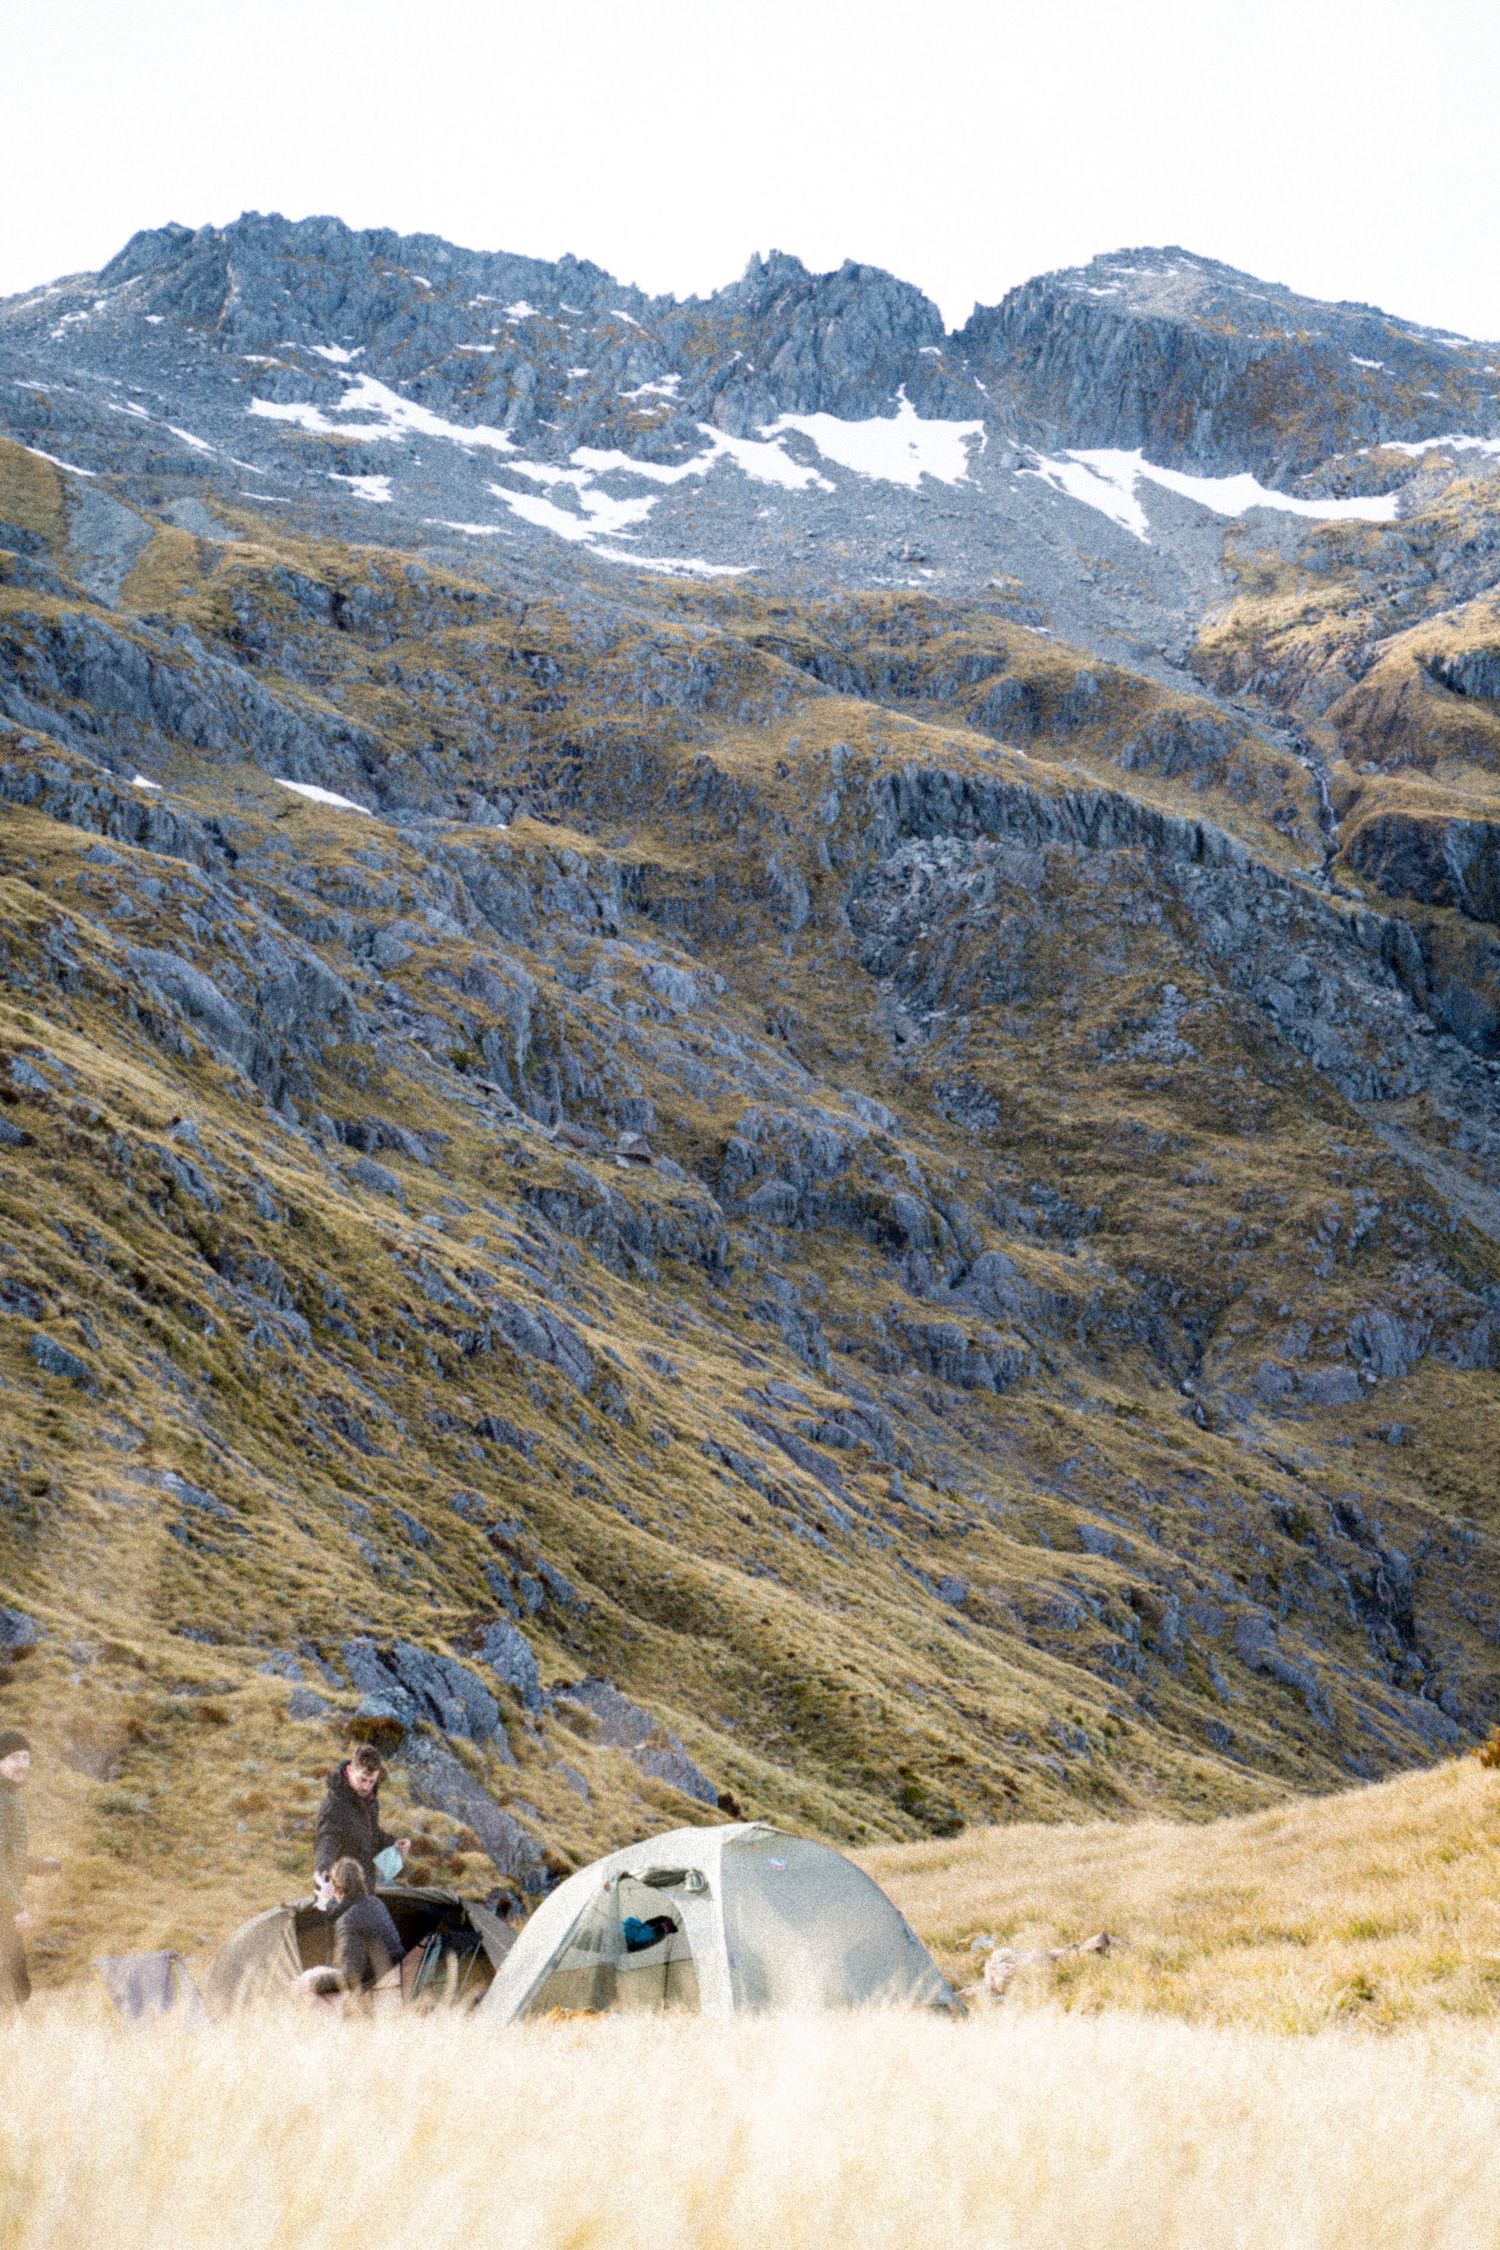
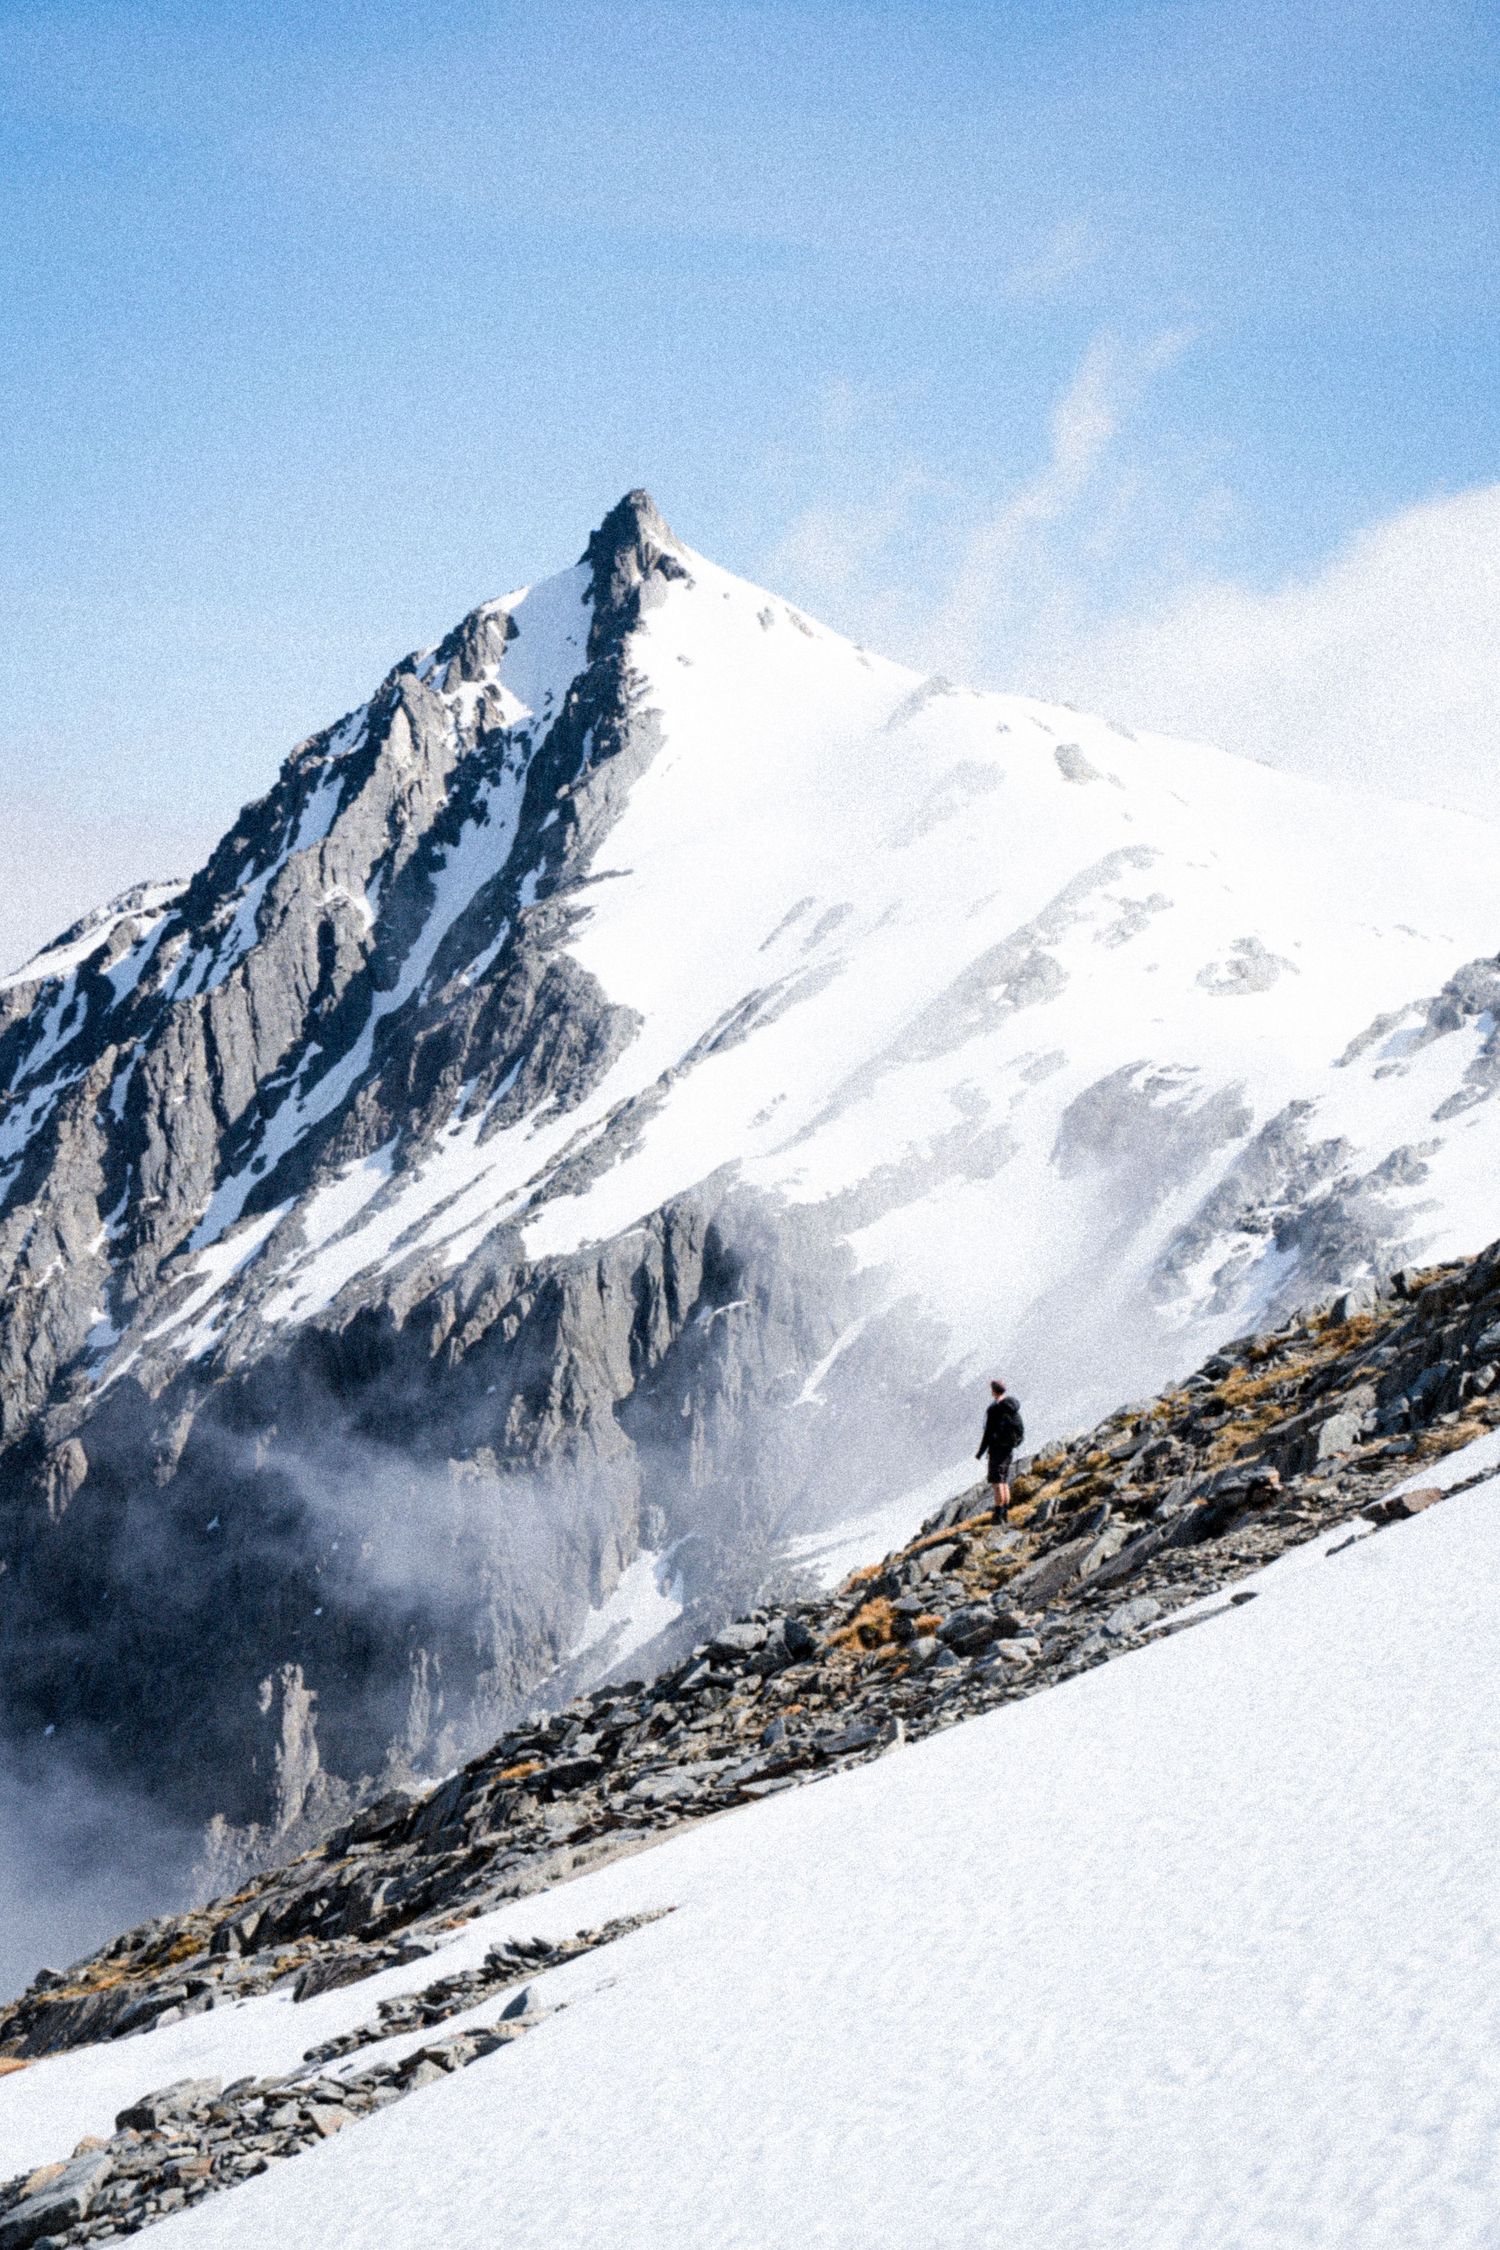
Crafting the "Faux-Film" Look
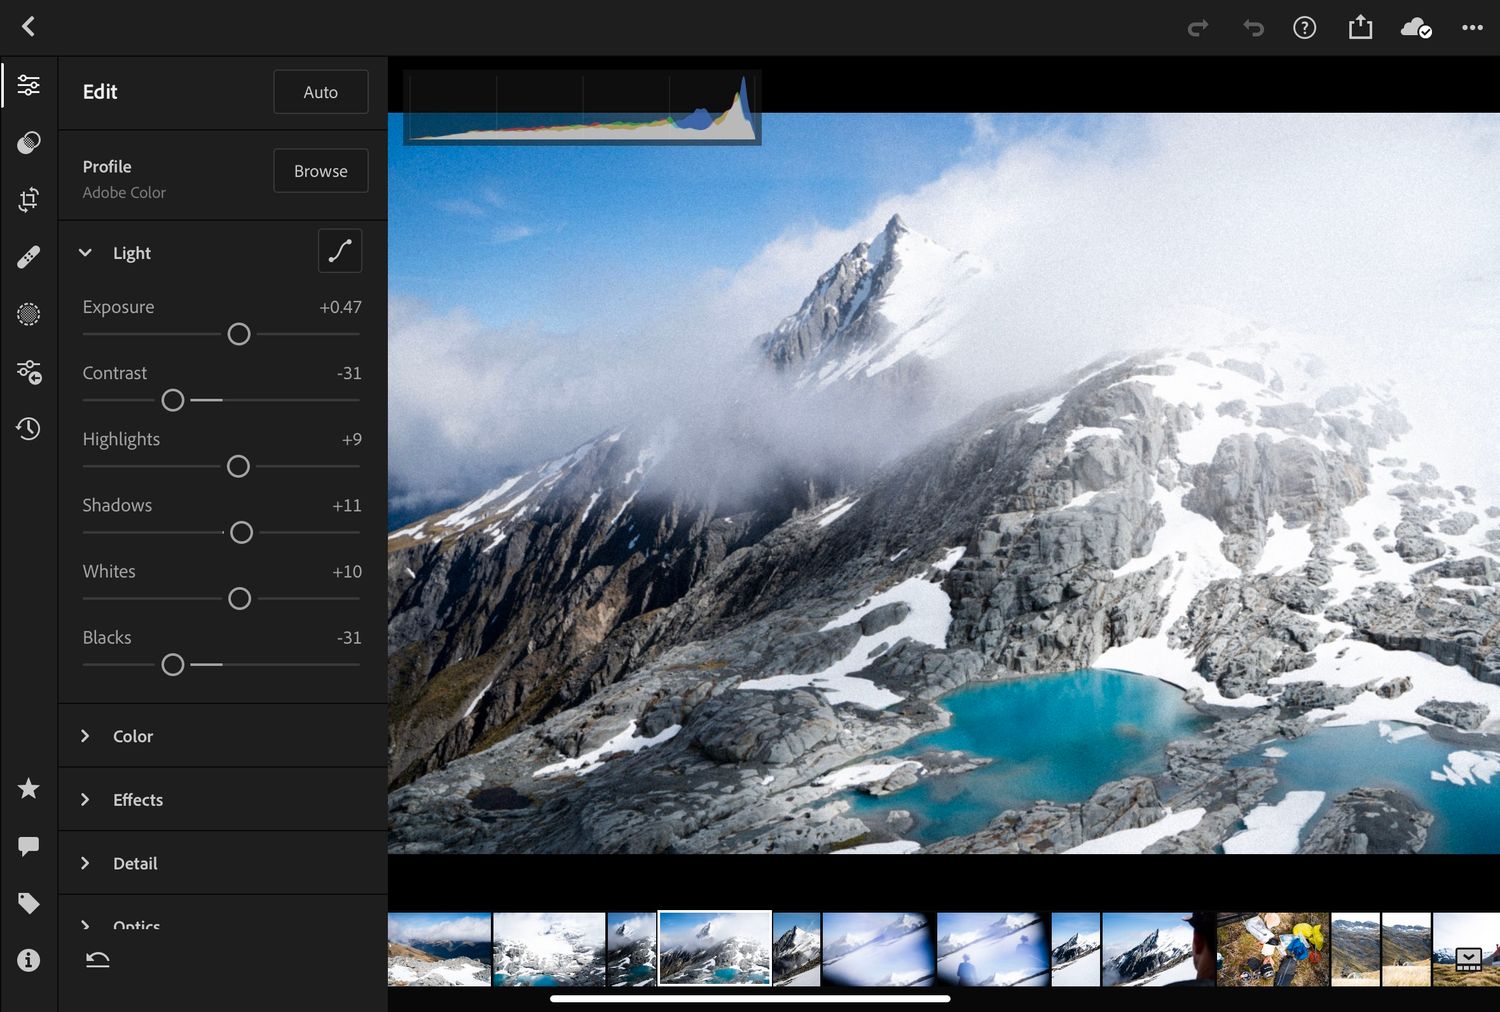
Creating the Faux-Film look involves adjusting various settings in your photo editing software (I use Lightroom on my iPad) to mimic the characteristics of specific film stocks. Here are some key adjustments to consider:
- Colour Palette: Films have distinct colour palettes, from the cool tones of Fuji Velvia to the warm hues of Kodak Portra. Experiment with colour balance to replicate your preferred film's colour characteristics.
- Contrast and Tone Curve: Film often has a unique contrast and tonal curve. Adjusting these settings can help achieve the desired soft contrast and highlights typical of analog film.
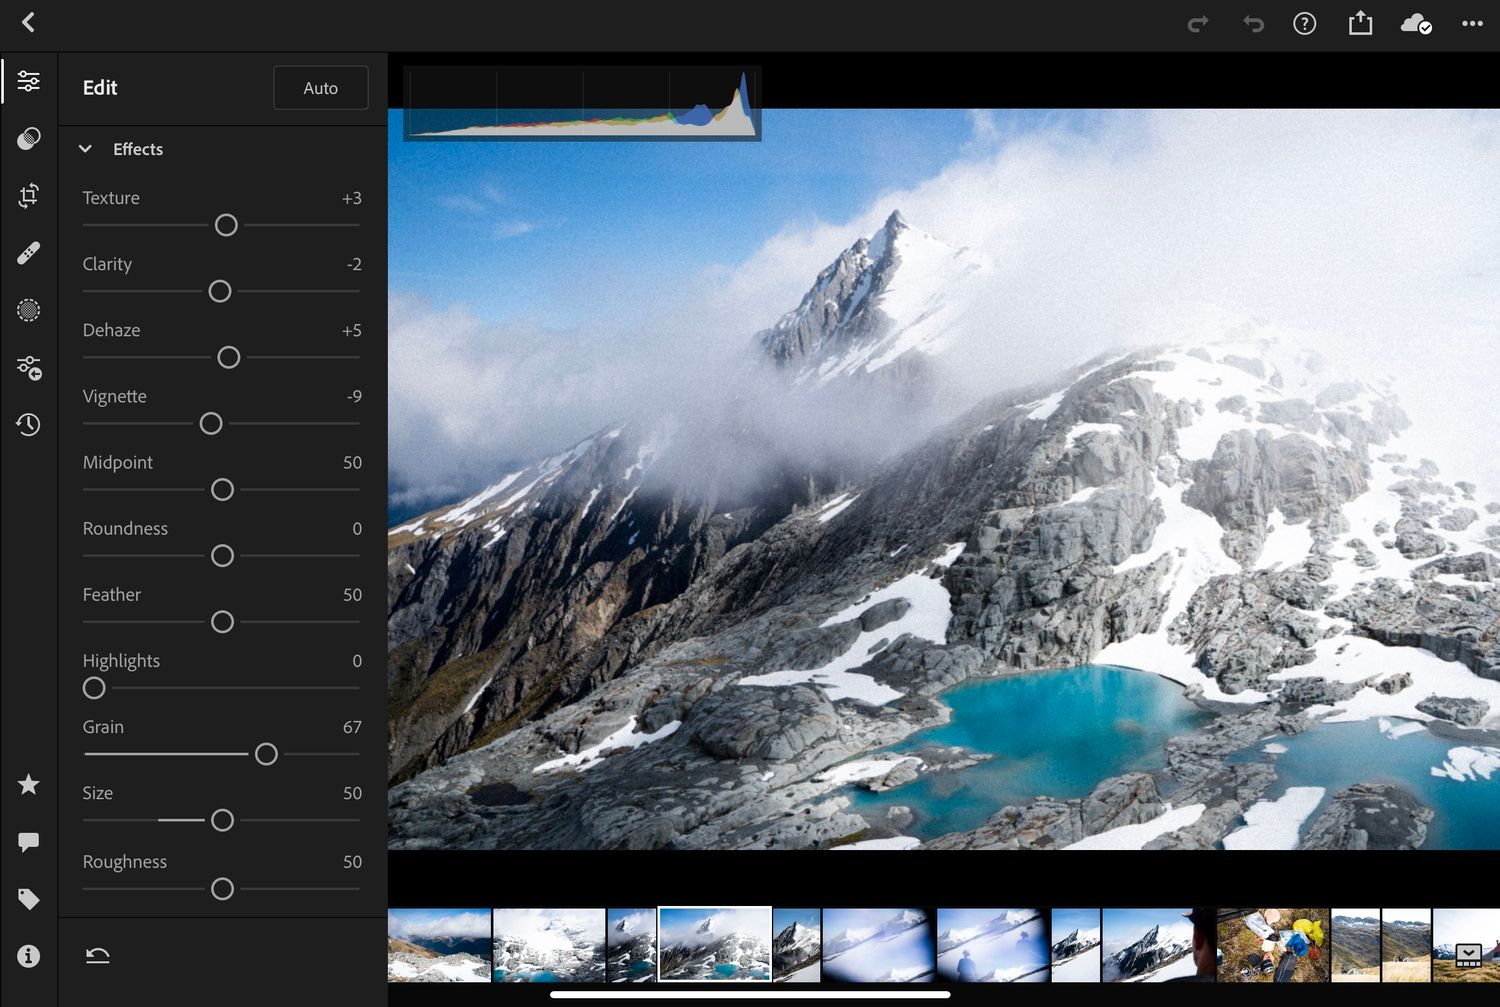
- Grain and Texture: Introduce a subtle grain or texture to your images for an organic, vintage feel. Be mindful of the level of grain to maintain a balance between nostalgia and clarity.
- Vignetting: Adding a gentle vignette can draw the viewer's focus toward the centre of the image, enhancing its nostalgic appeal.
- Split Toning: Apply split toning to introduce colour casts that mimic the look of different film stocks.
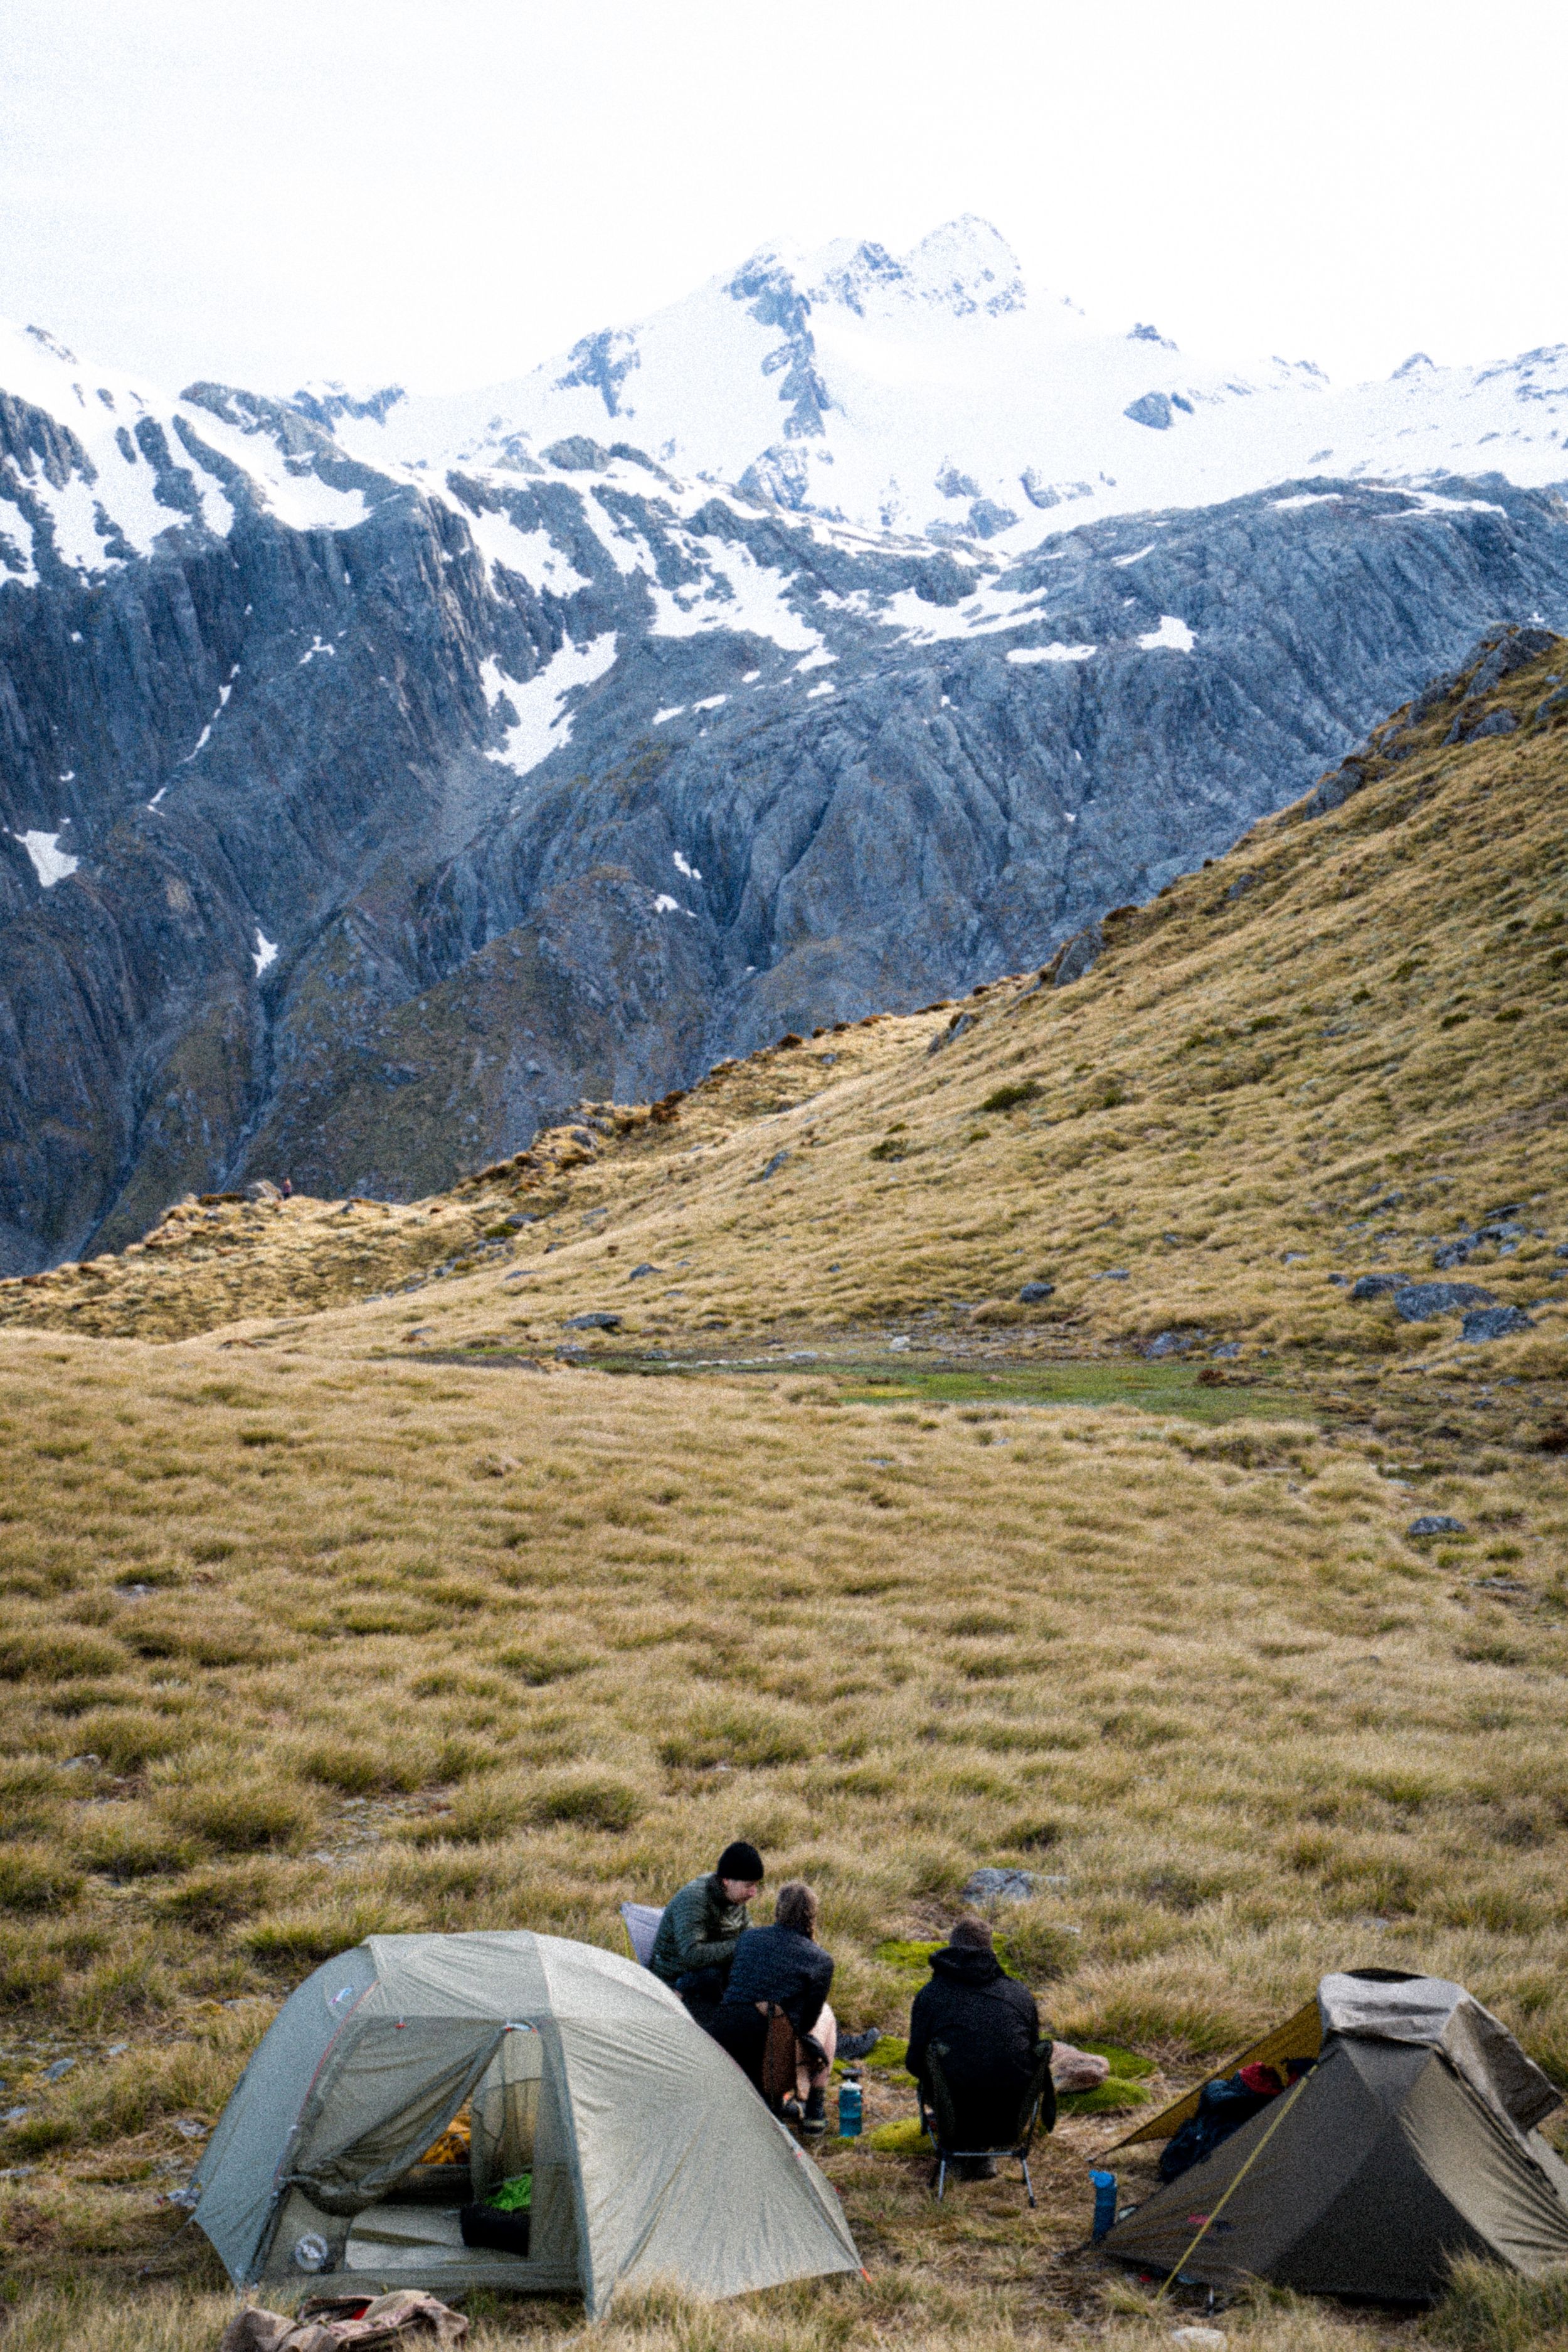
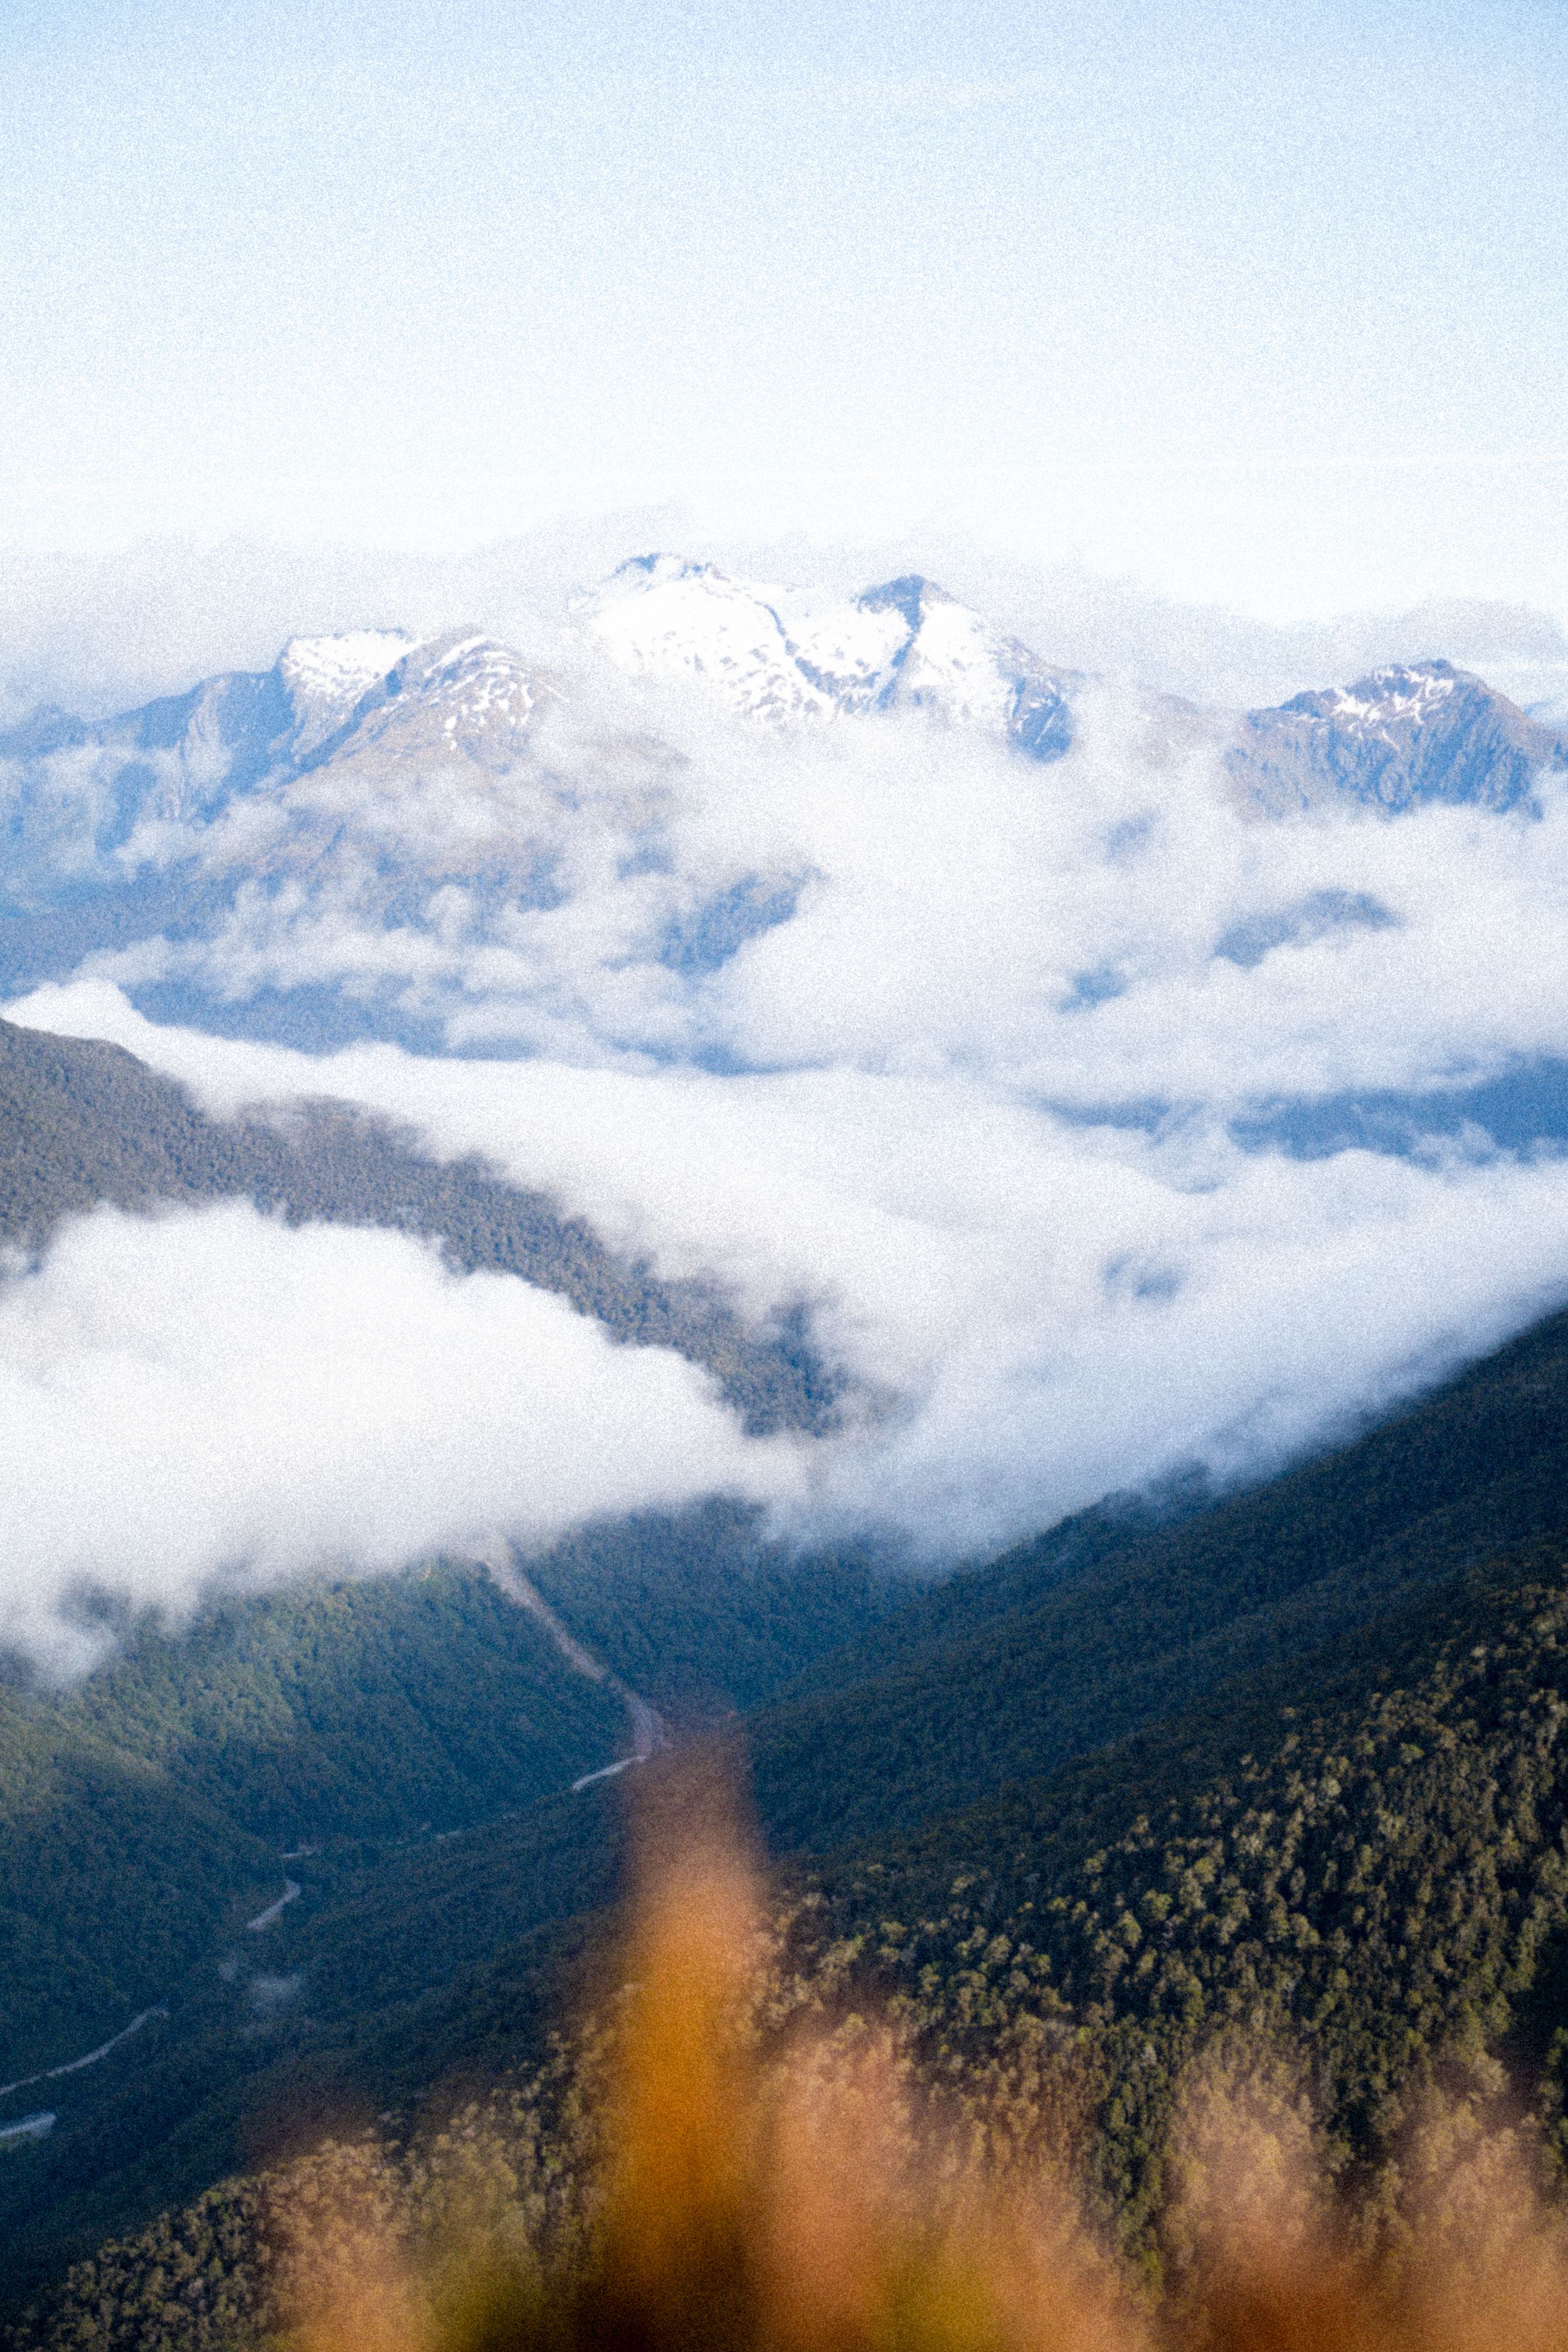
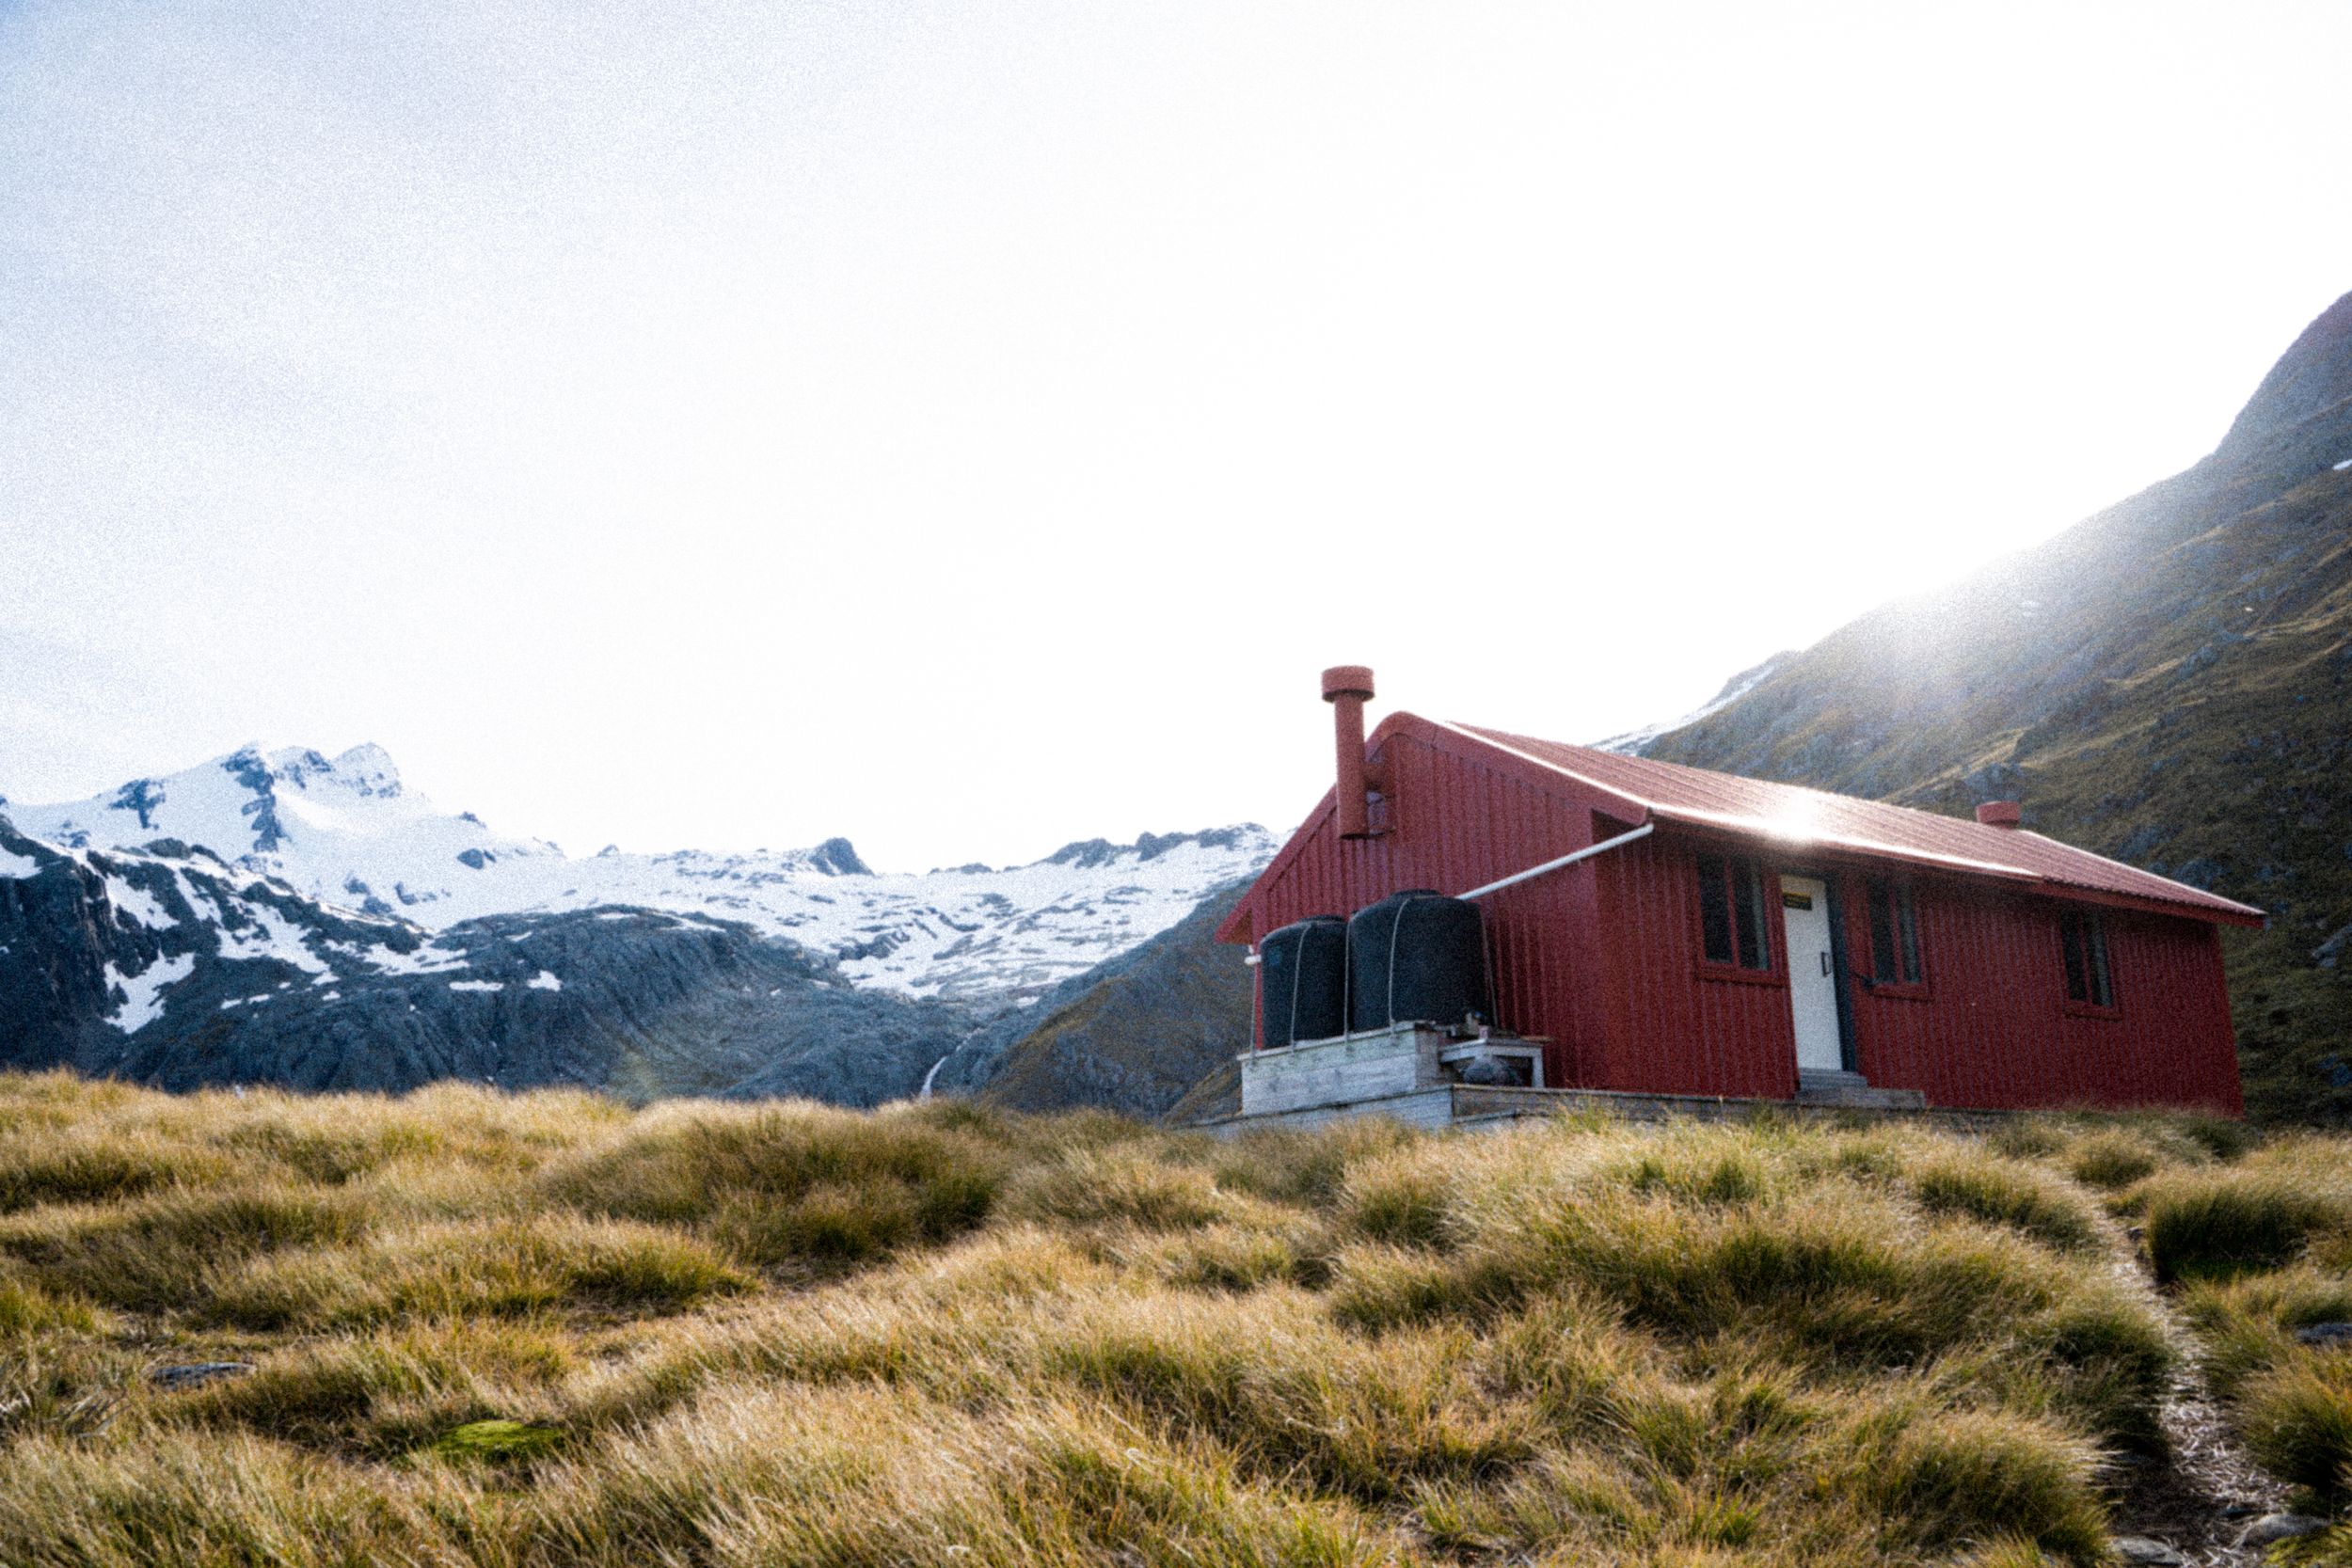
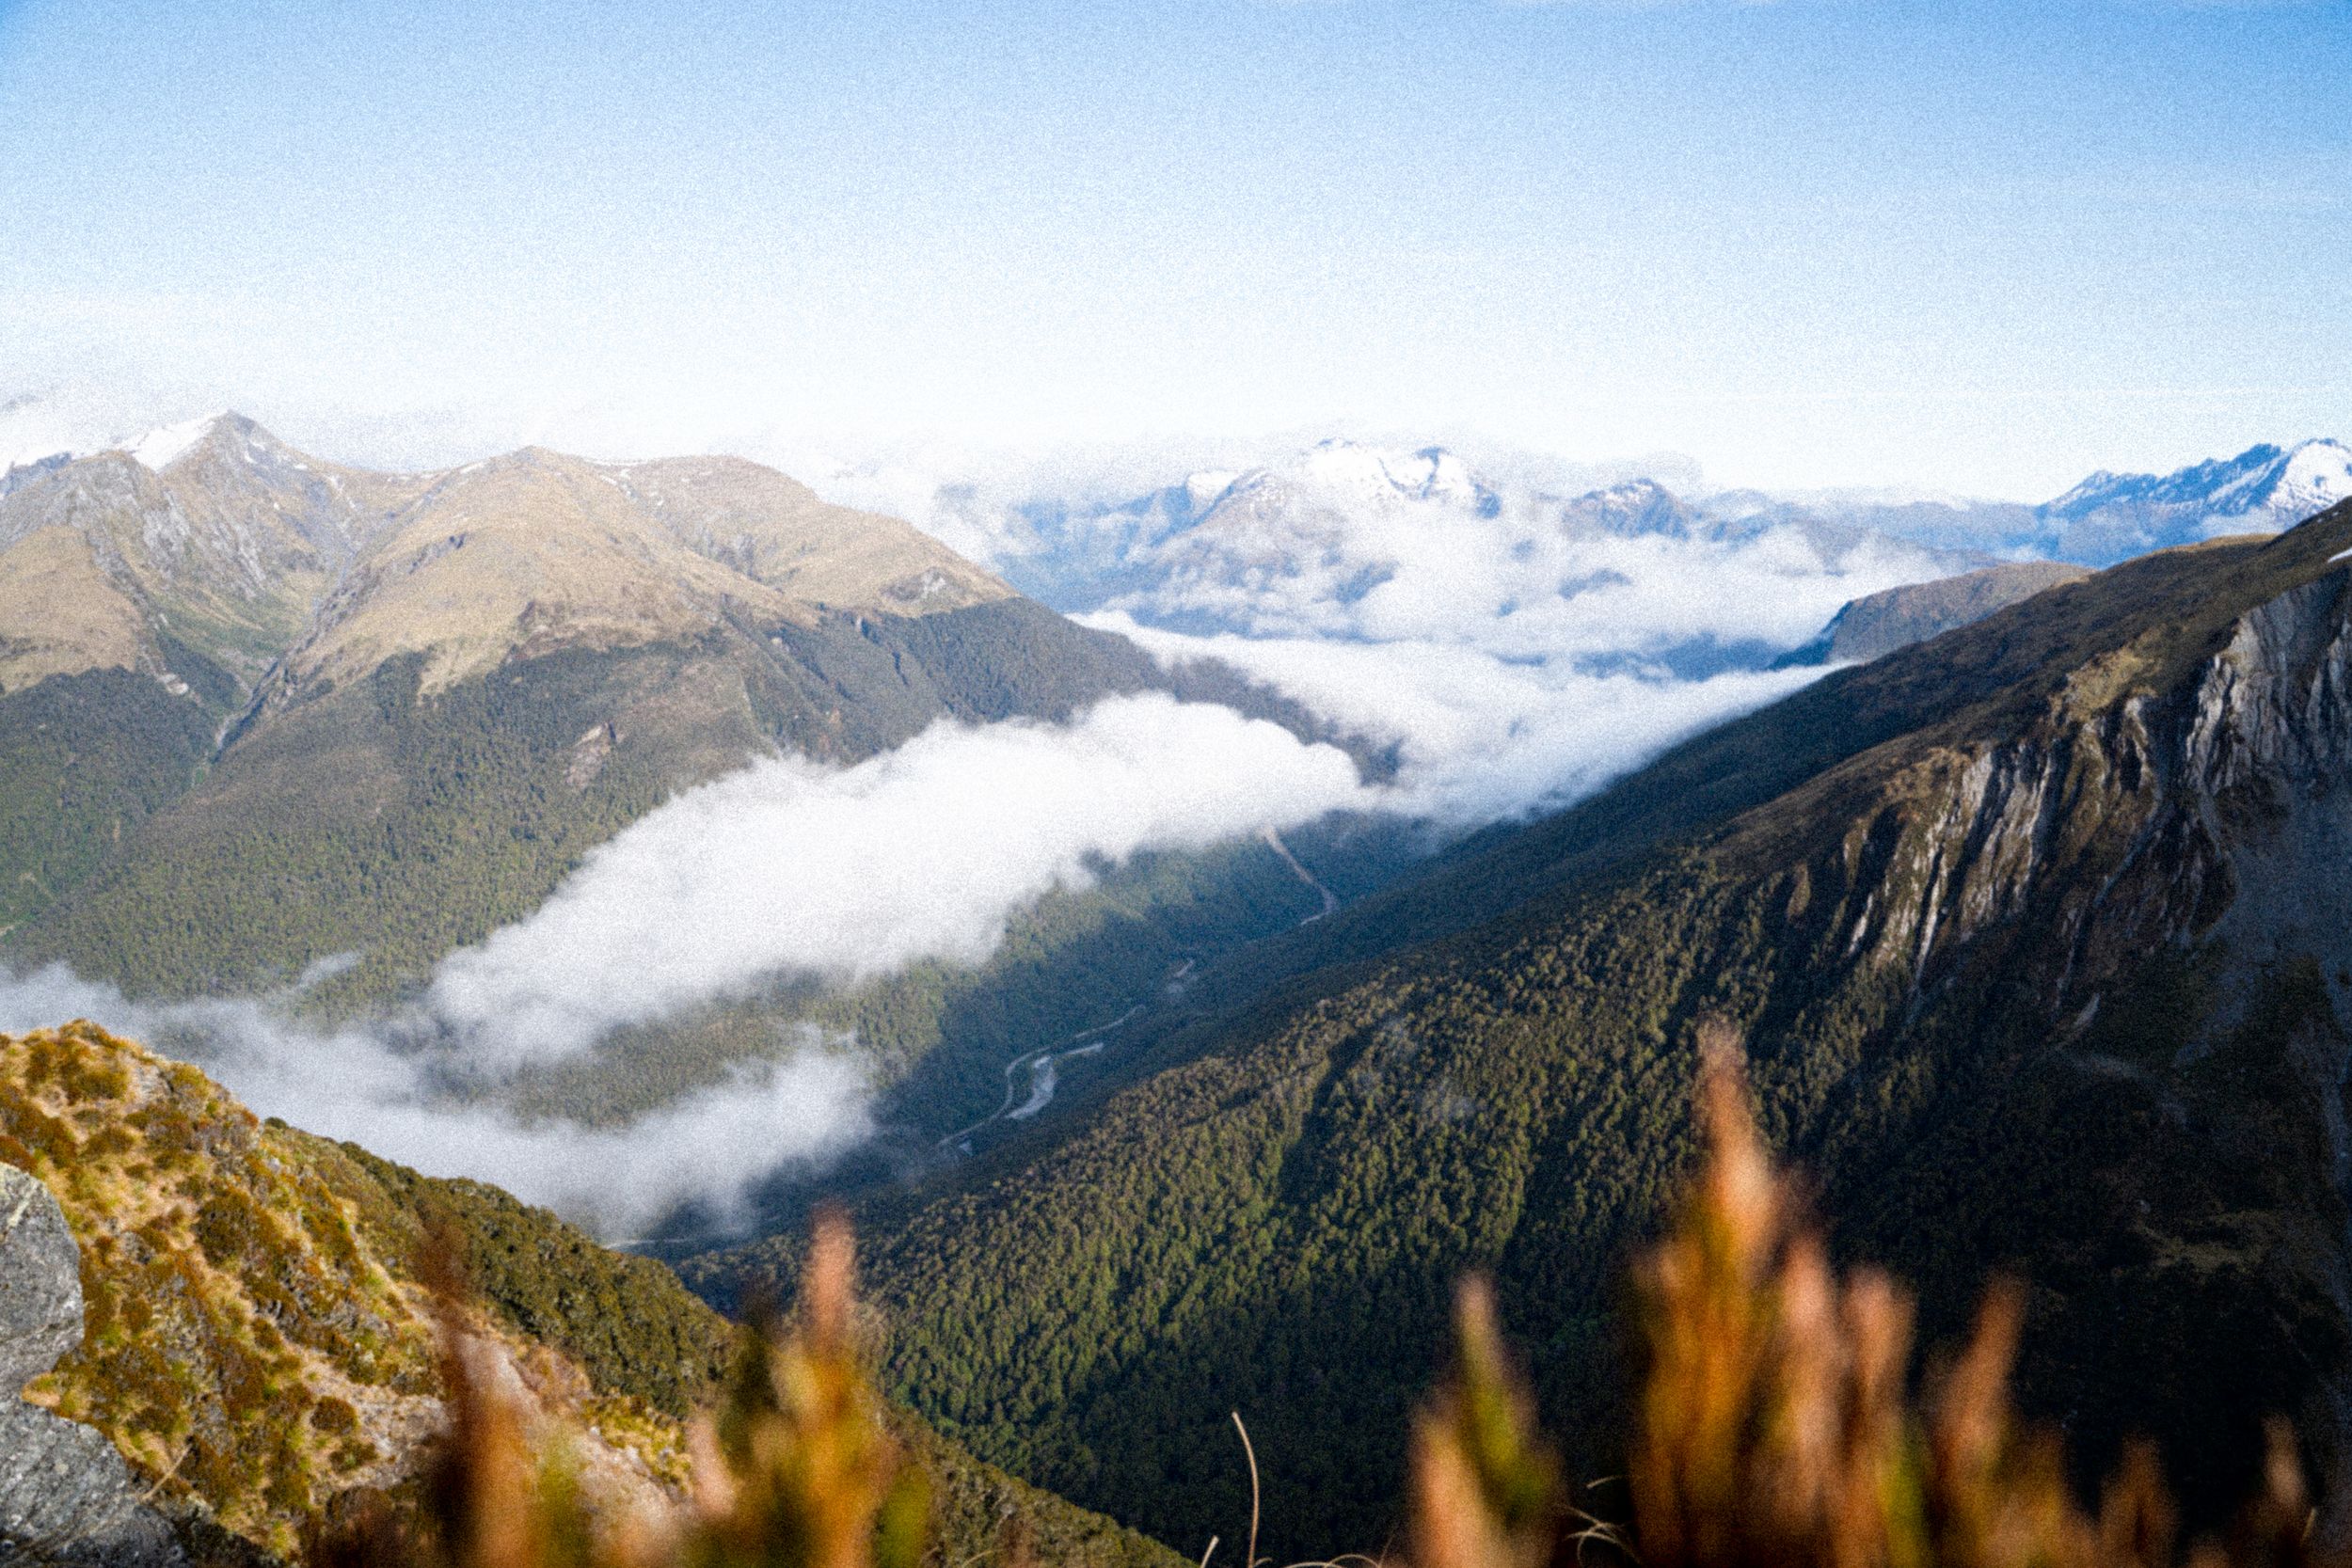
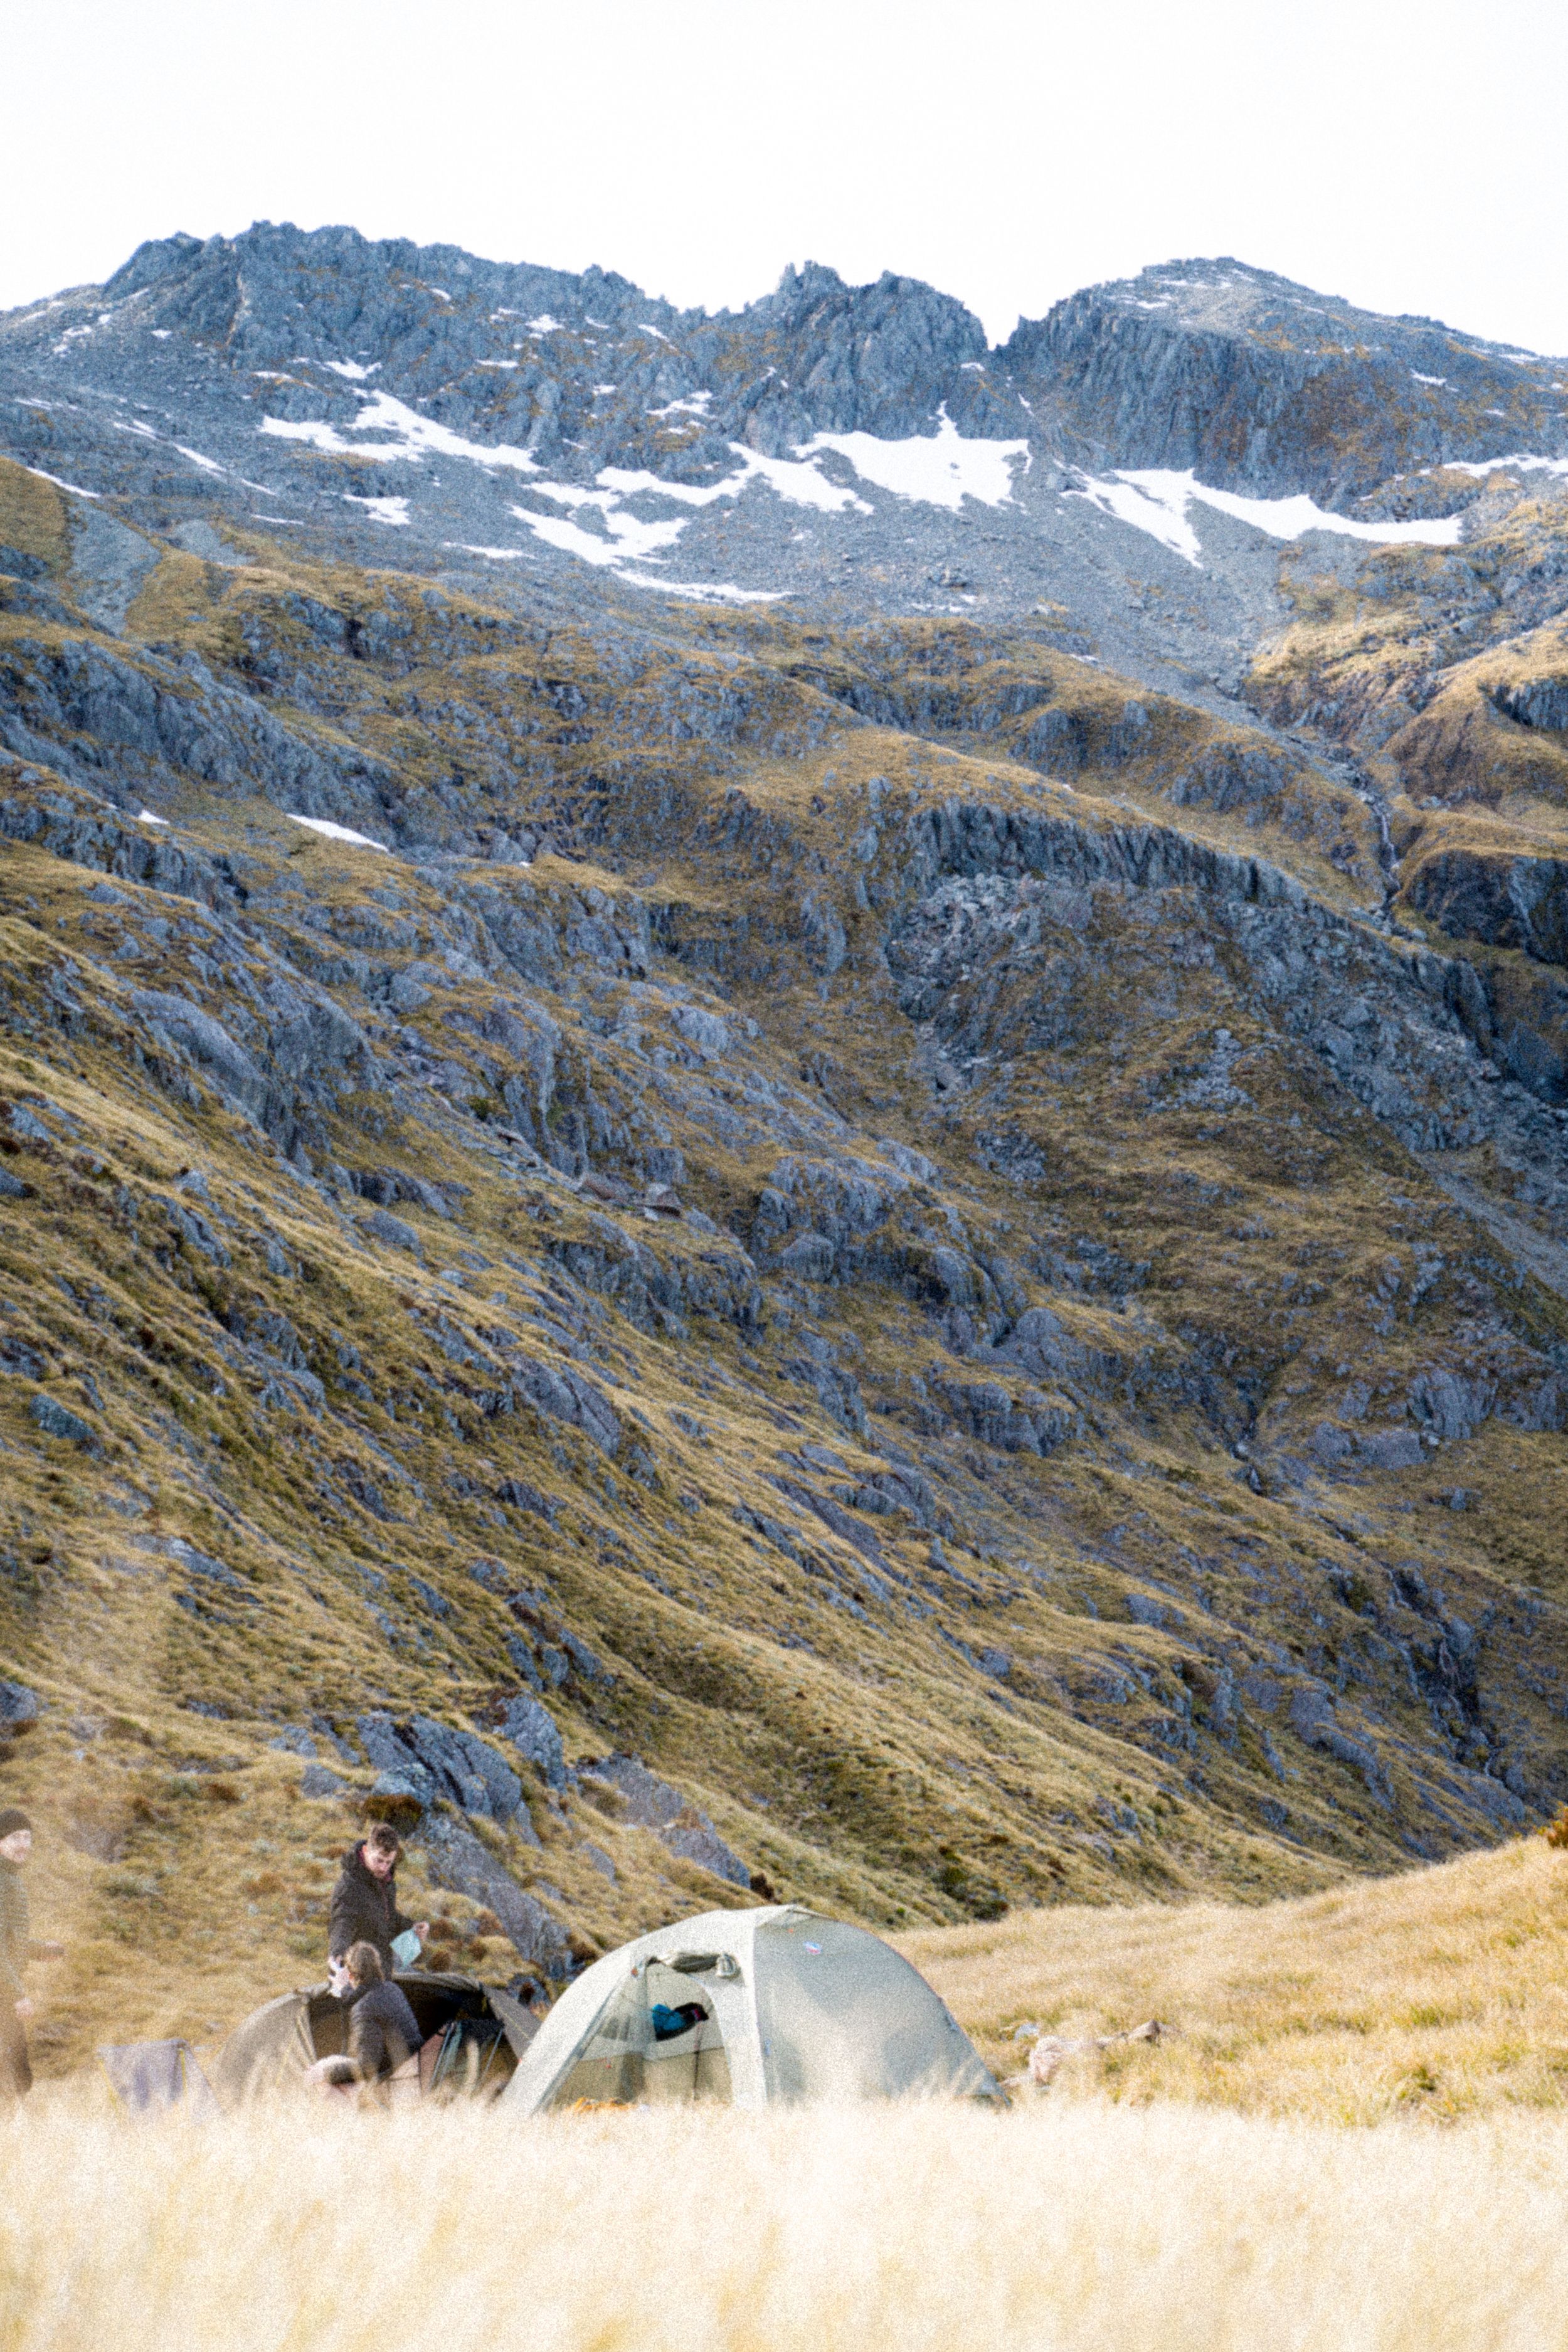
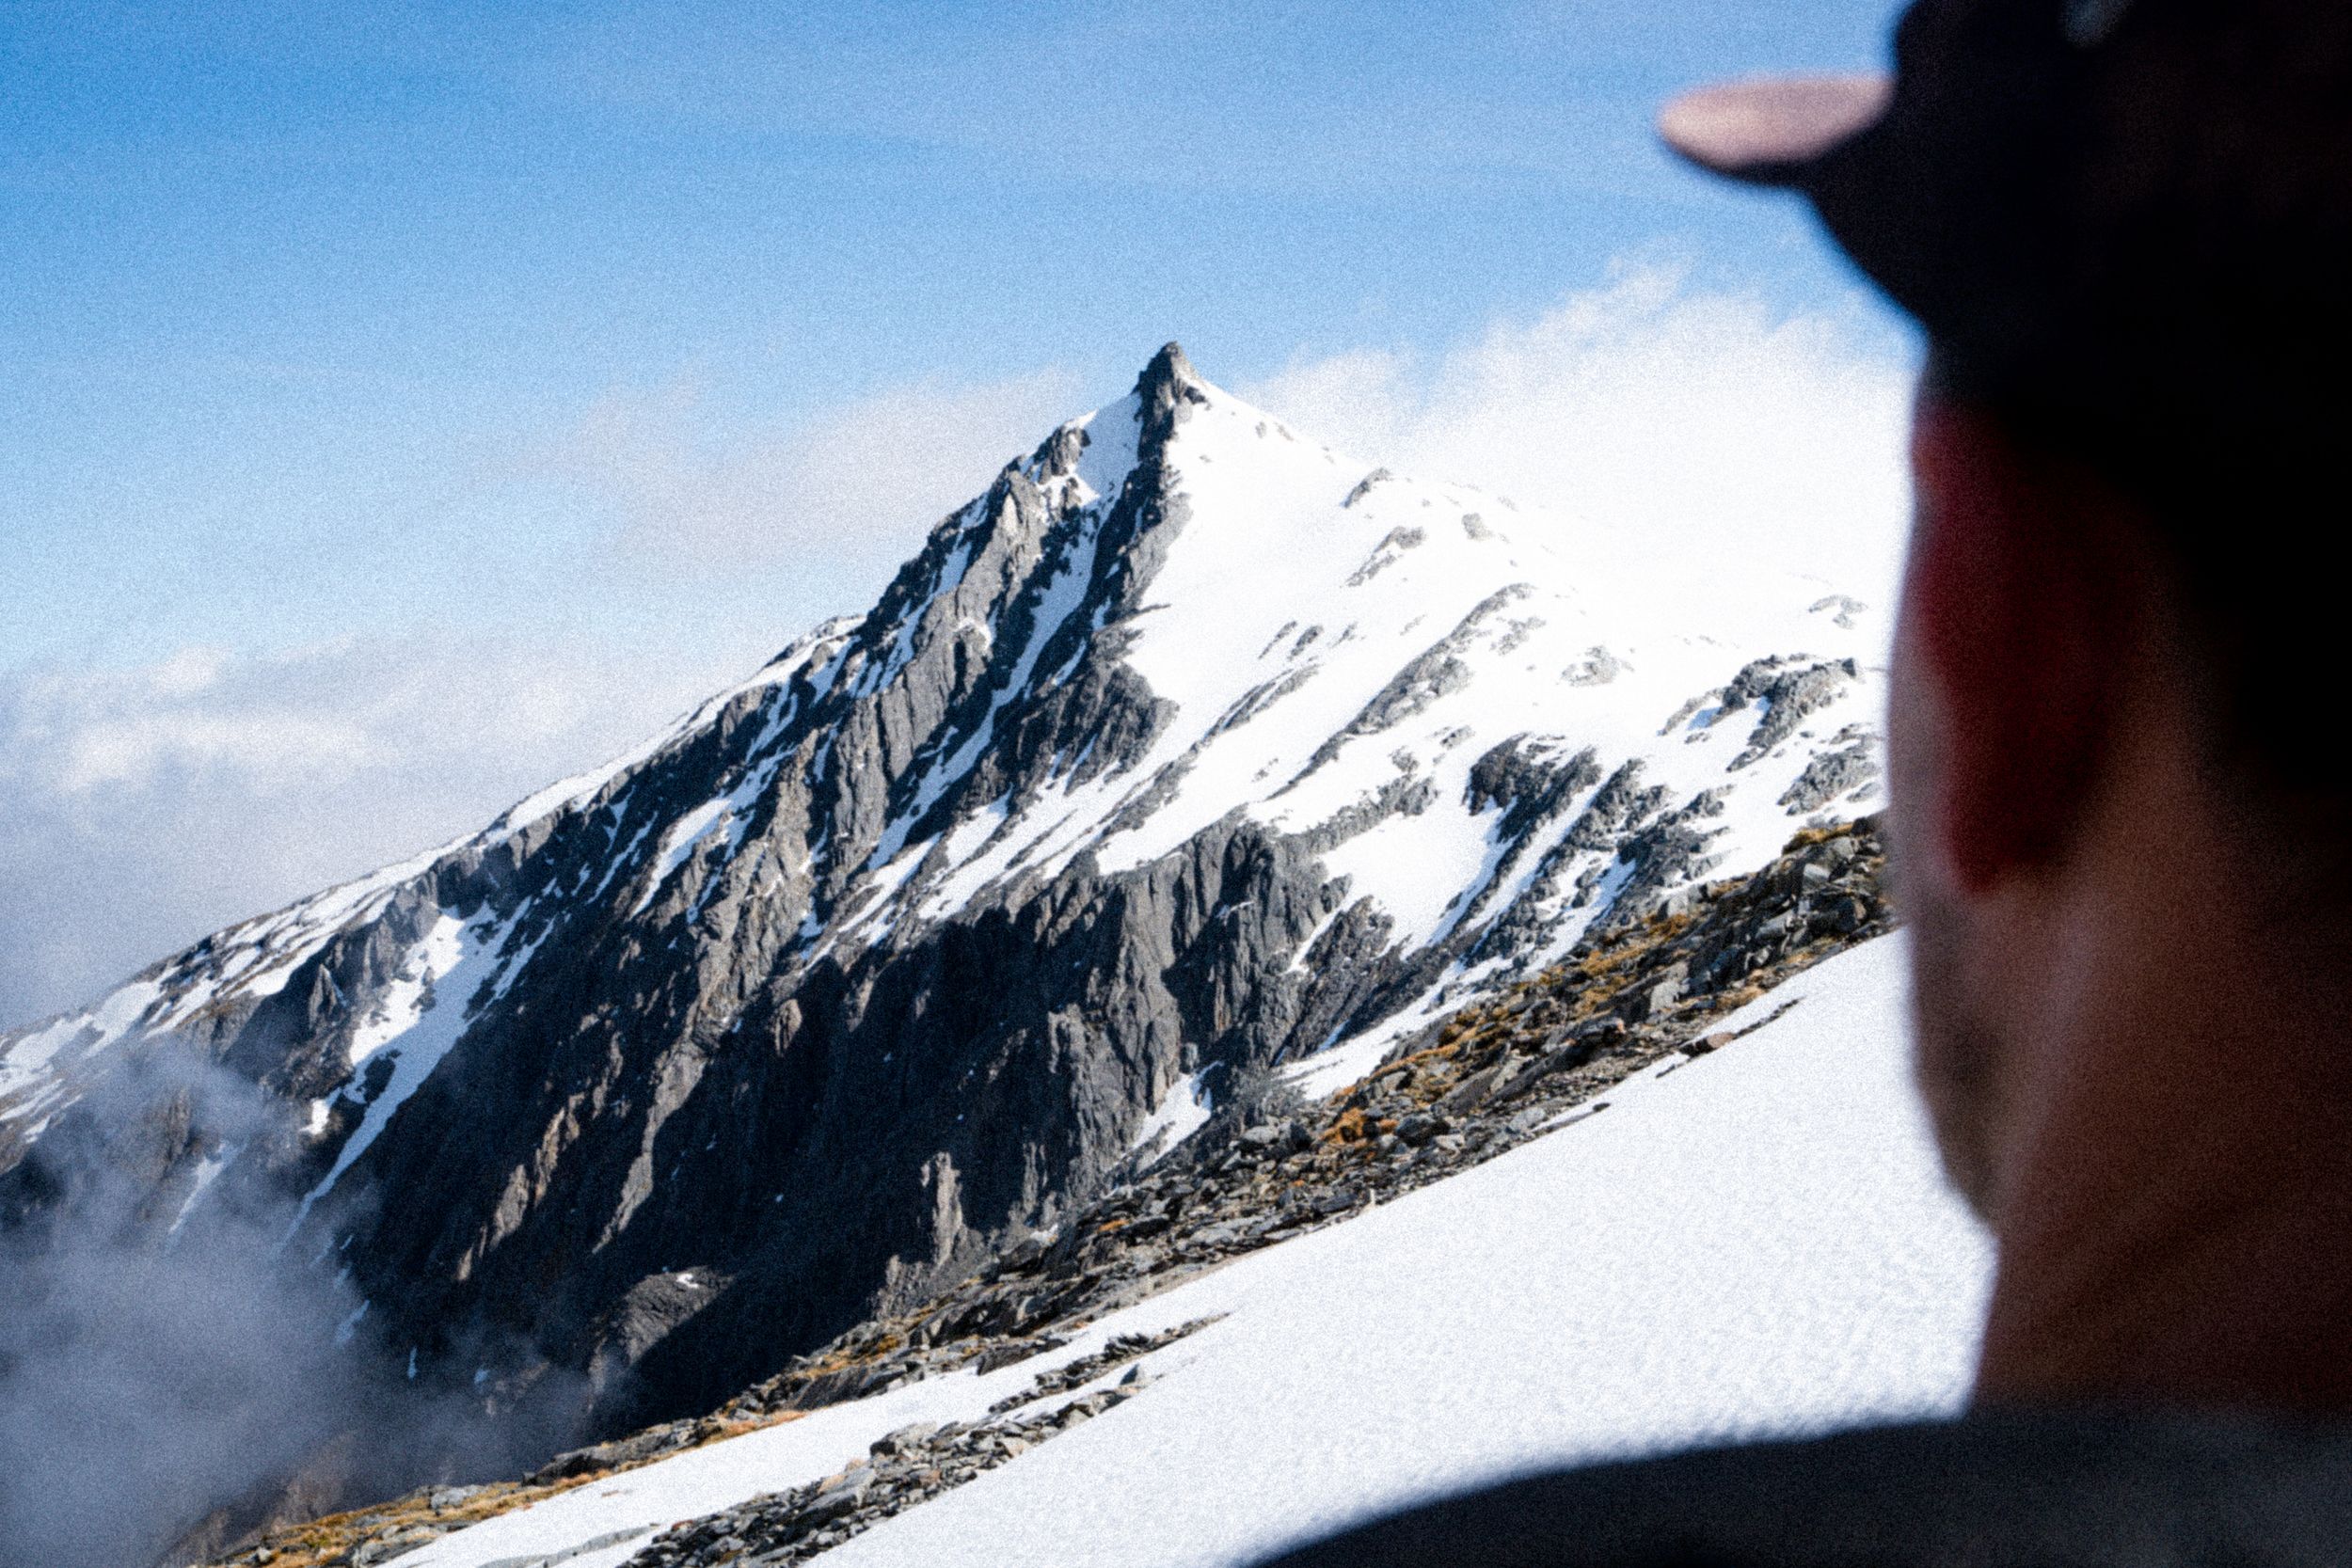
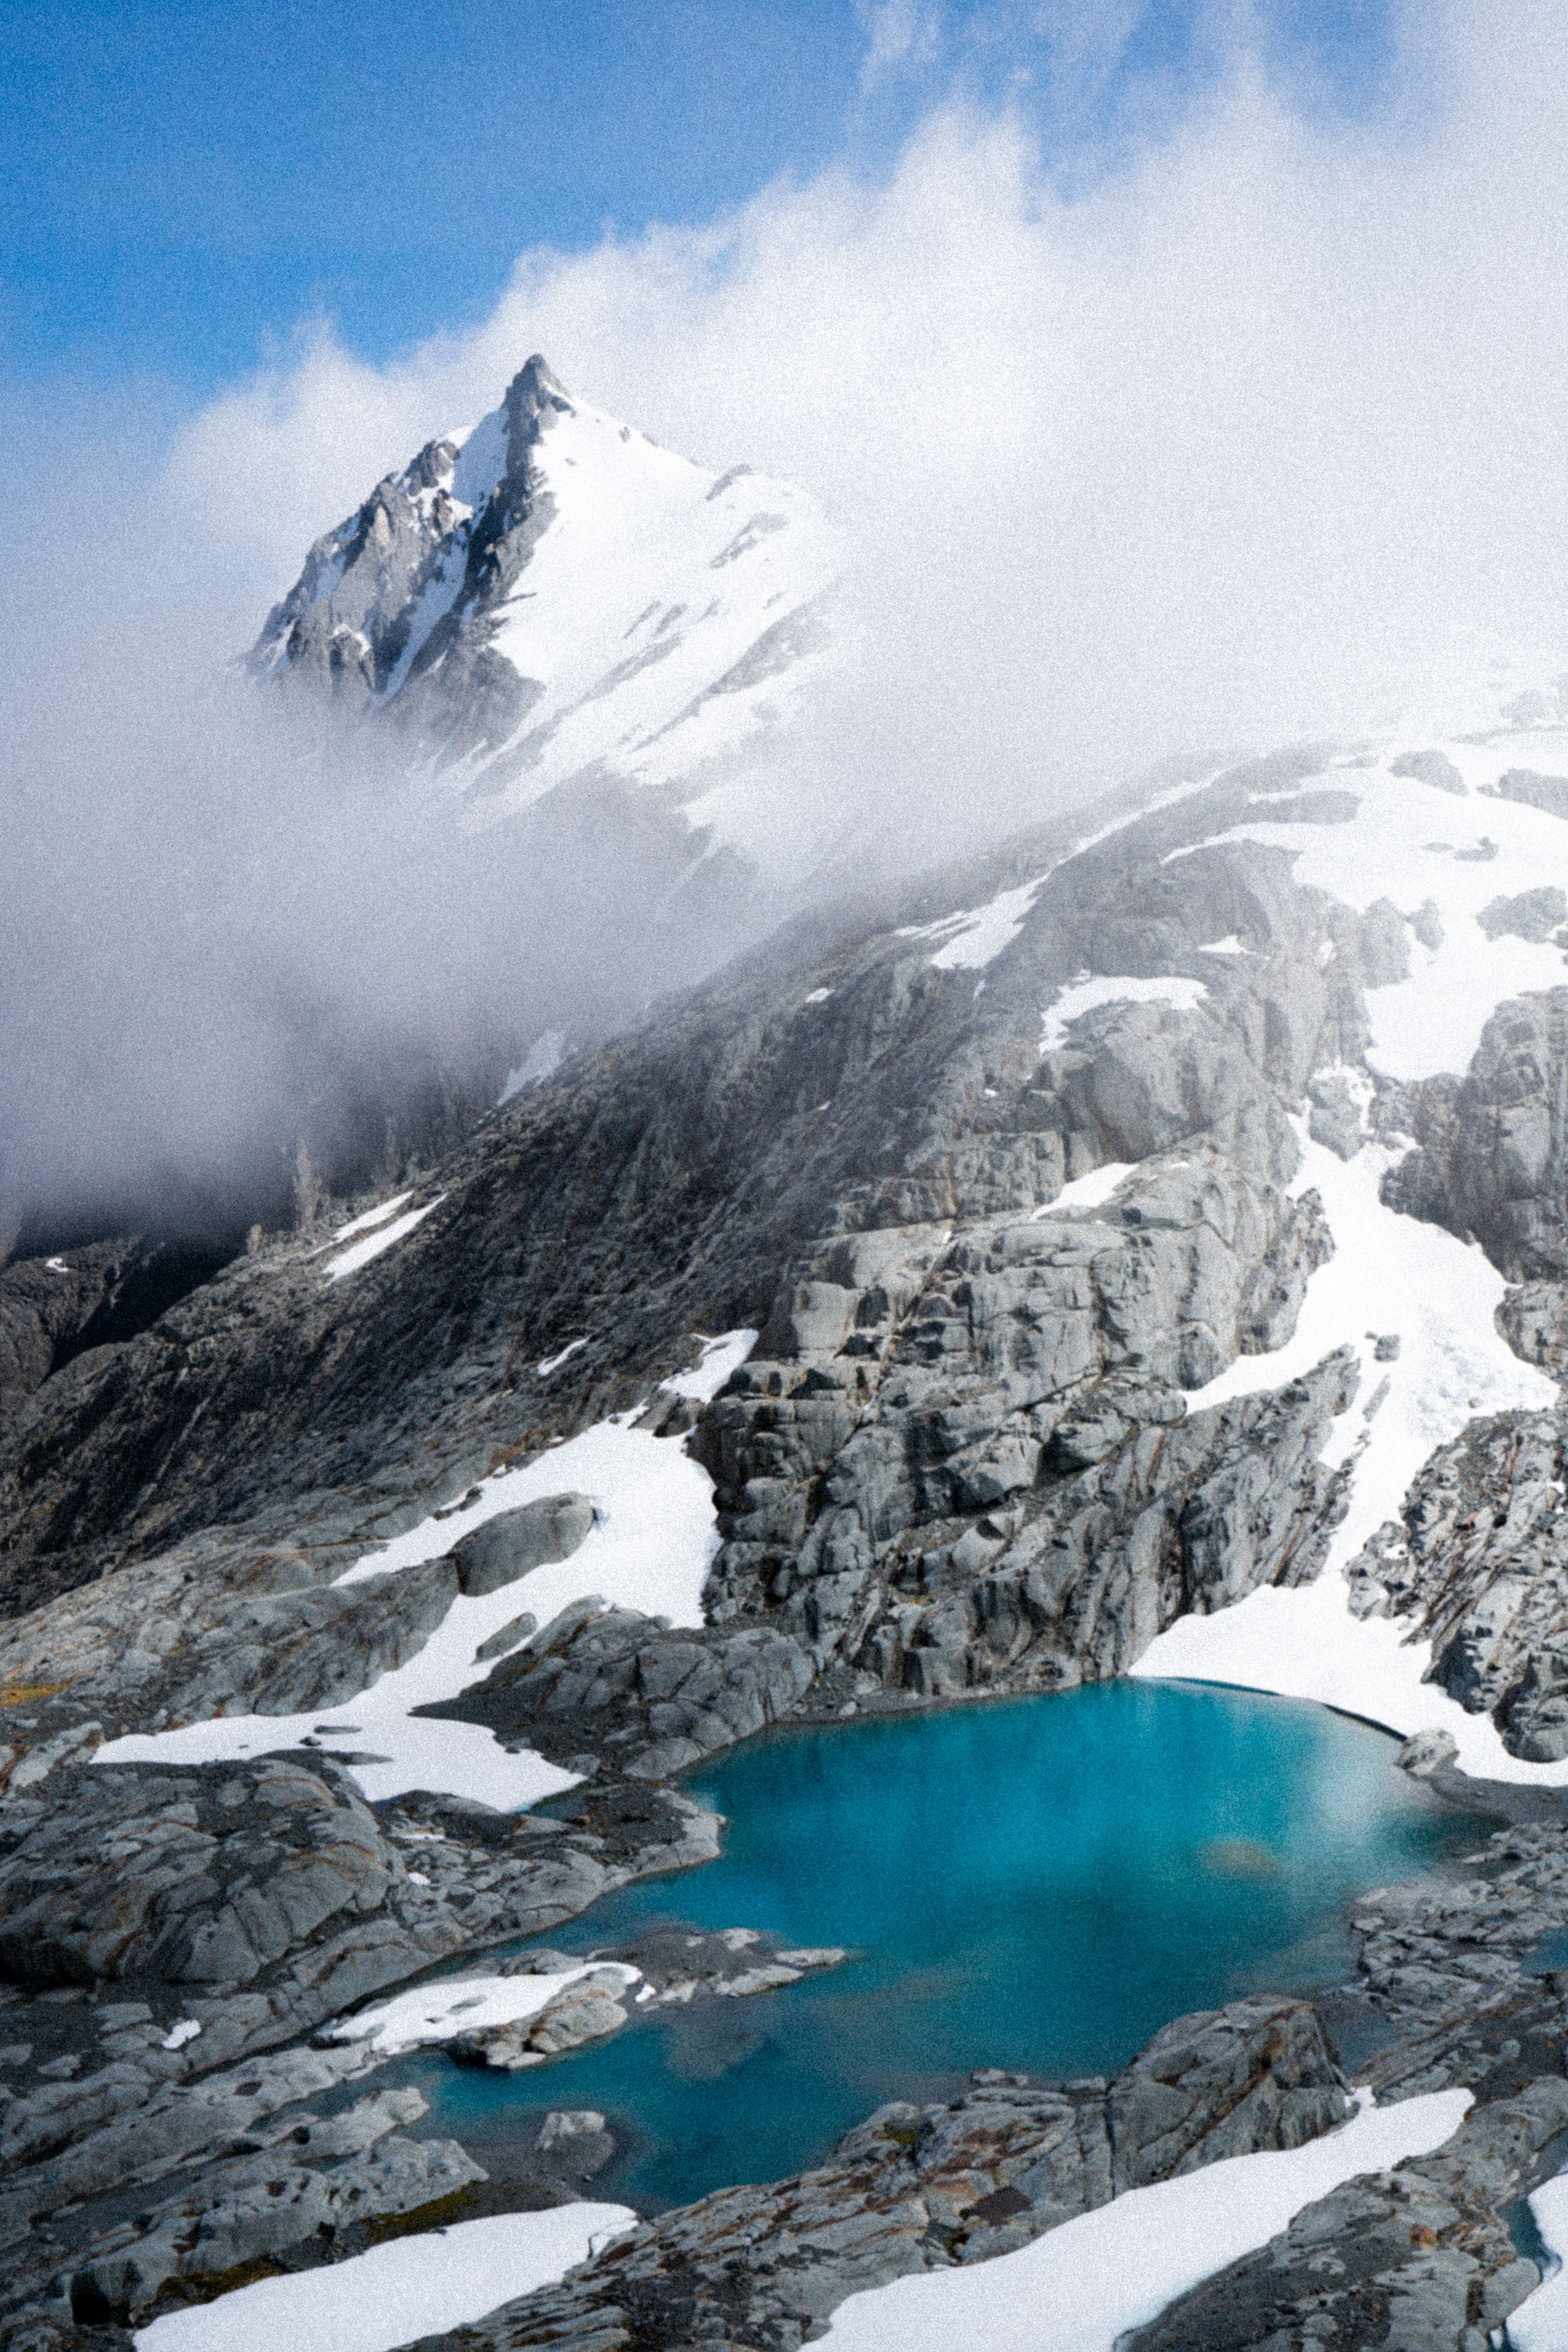
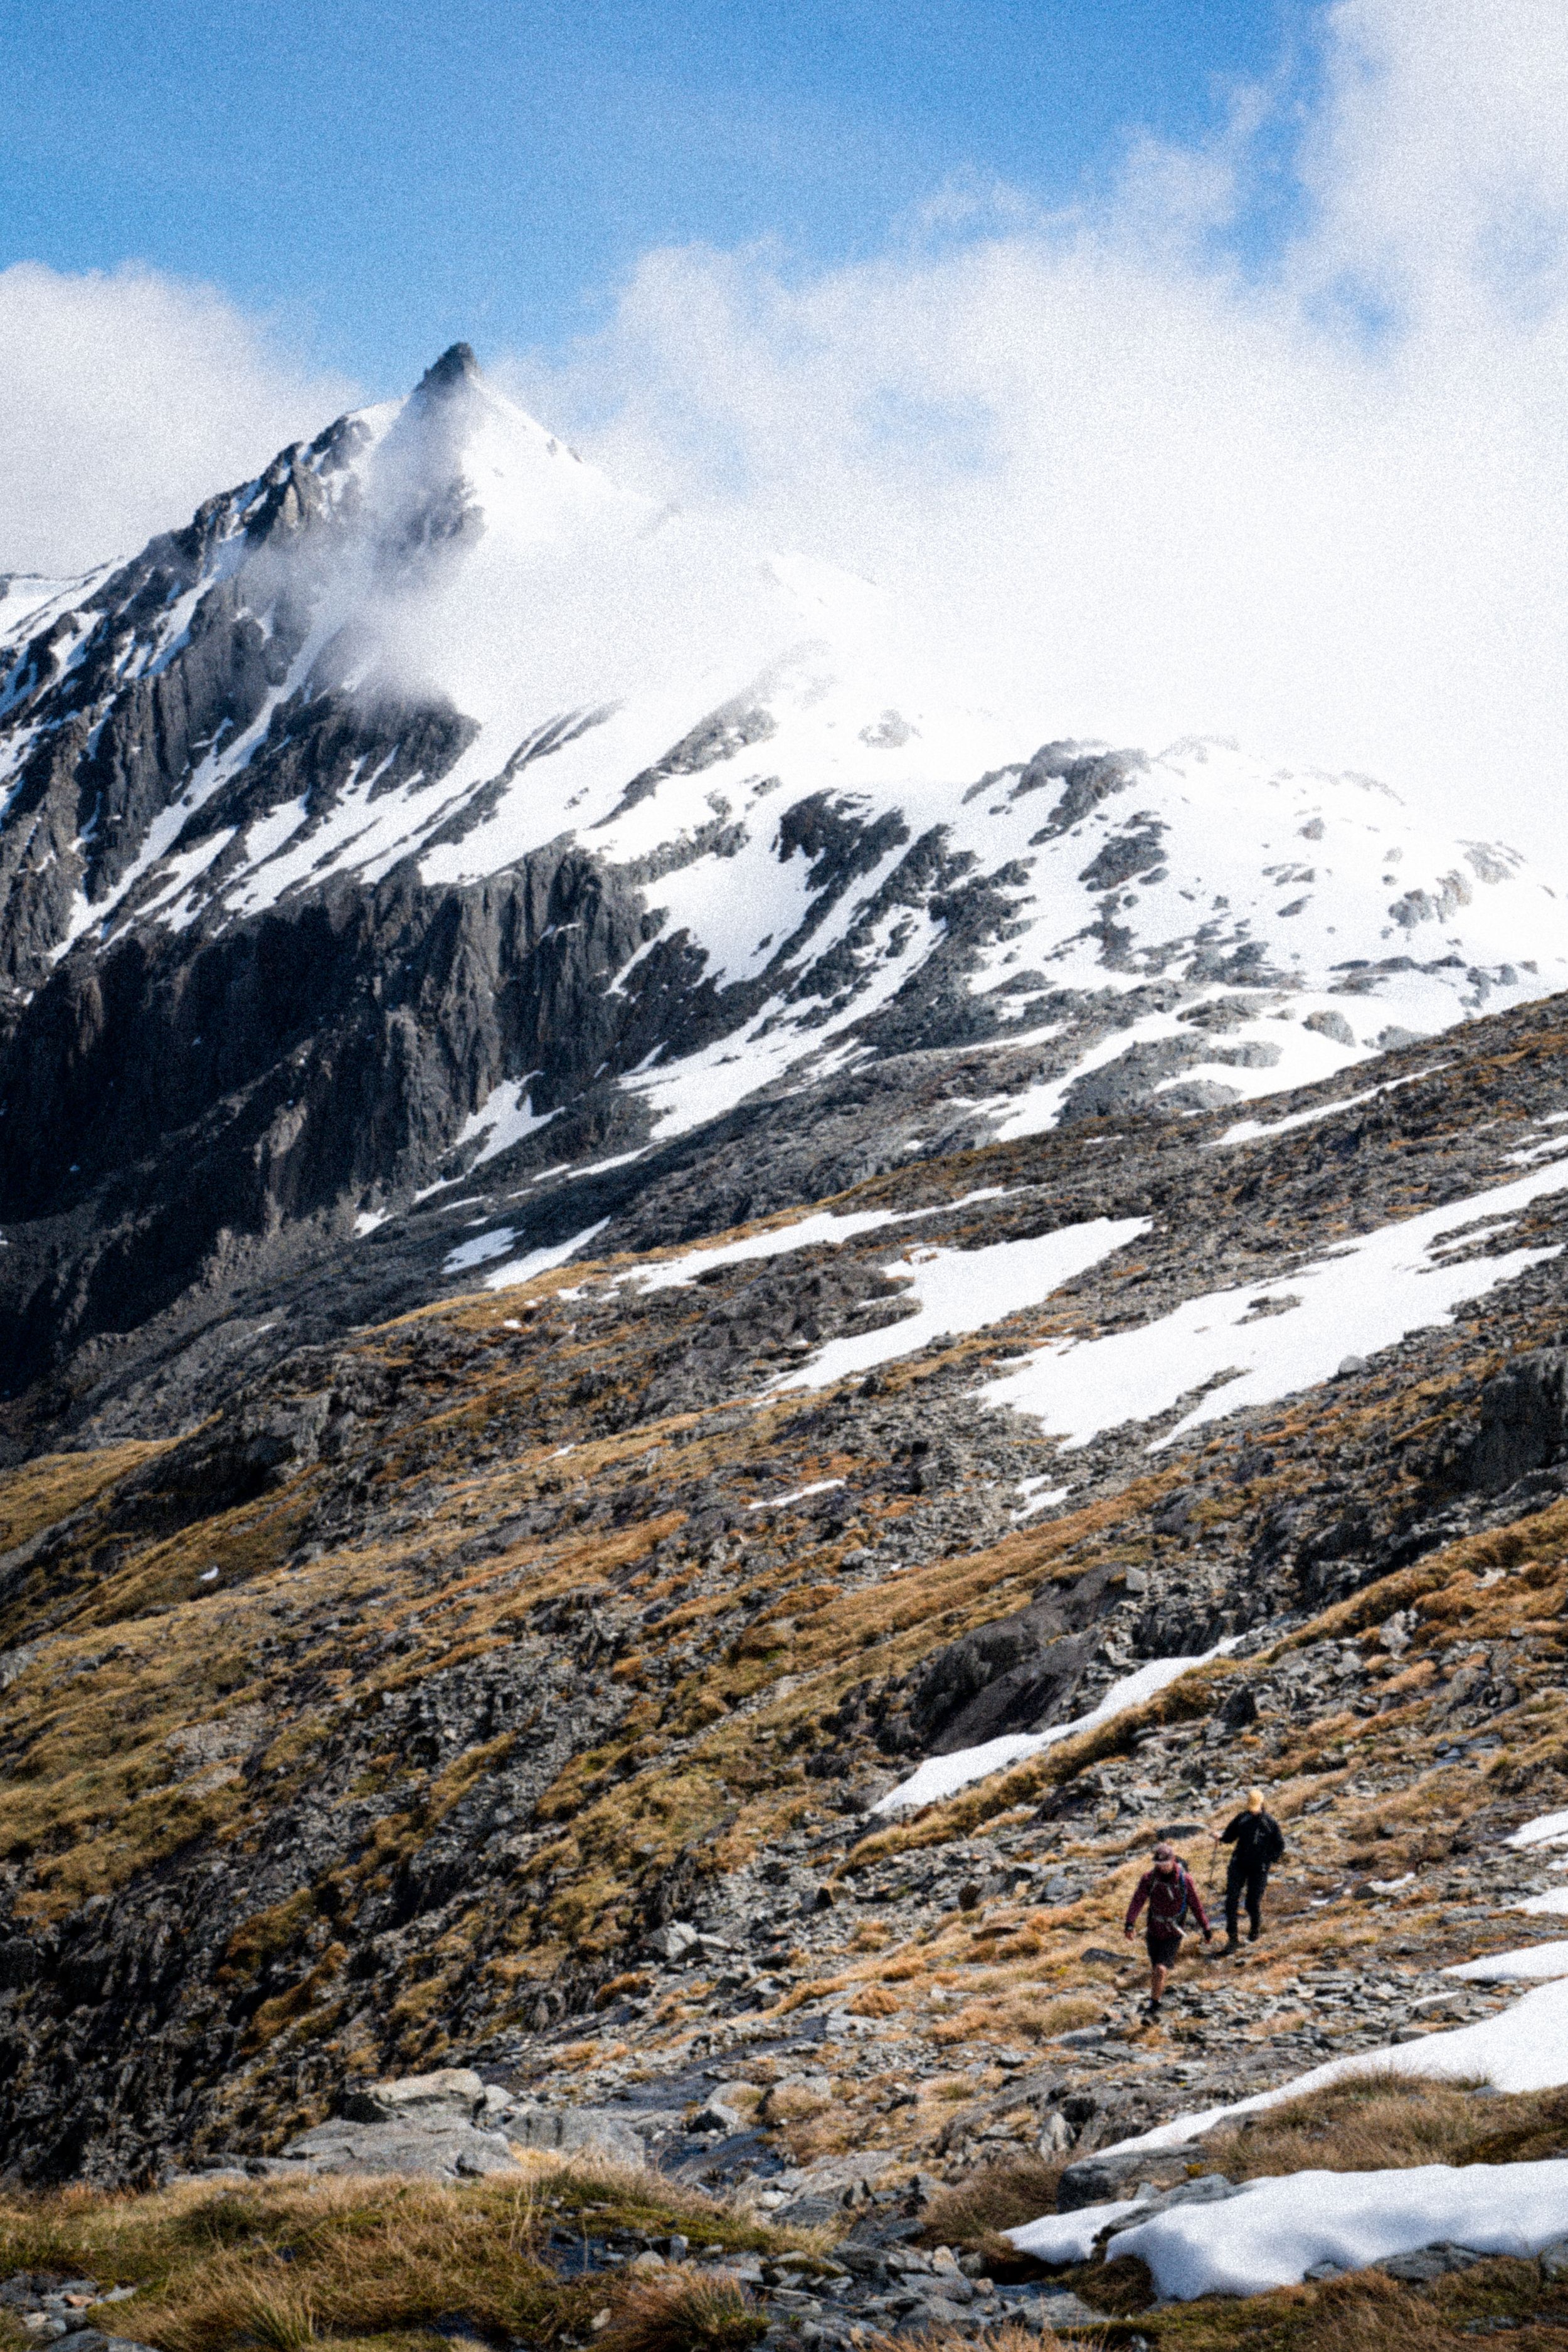
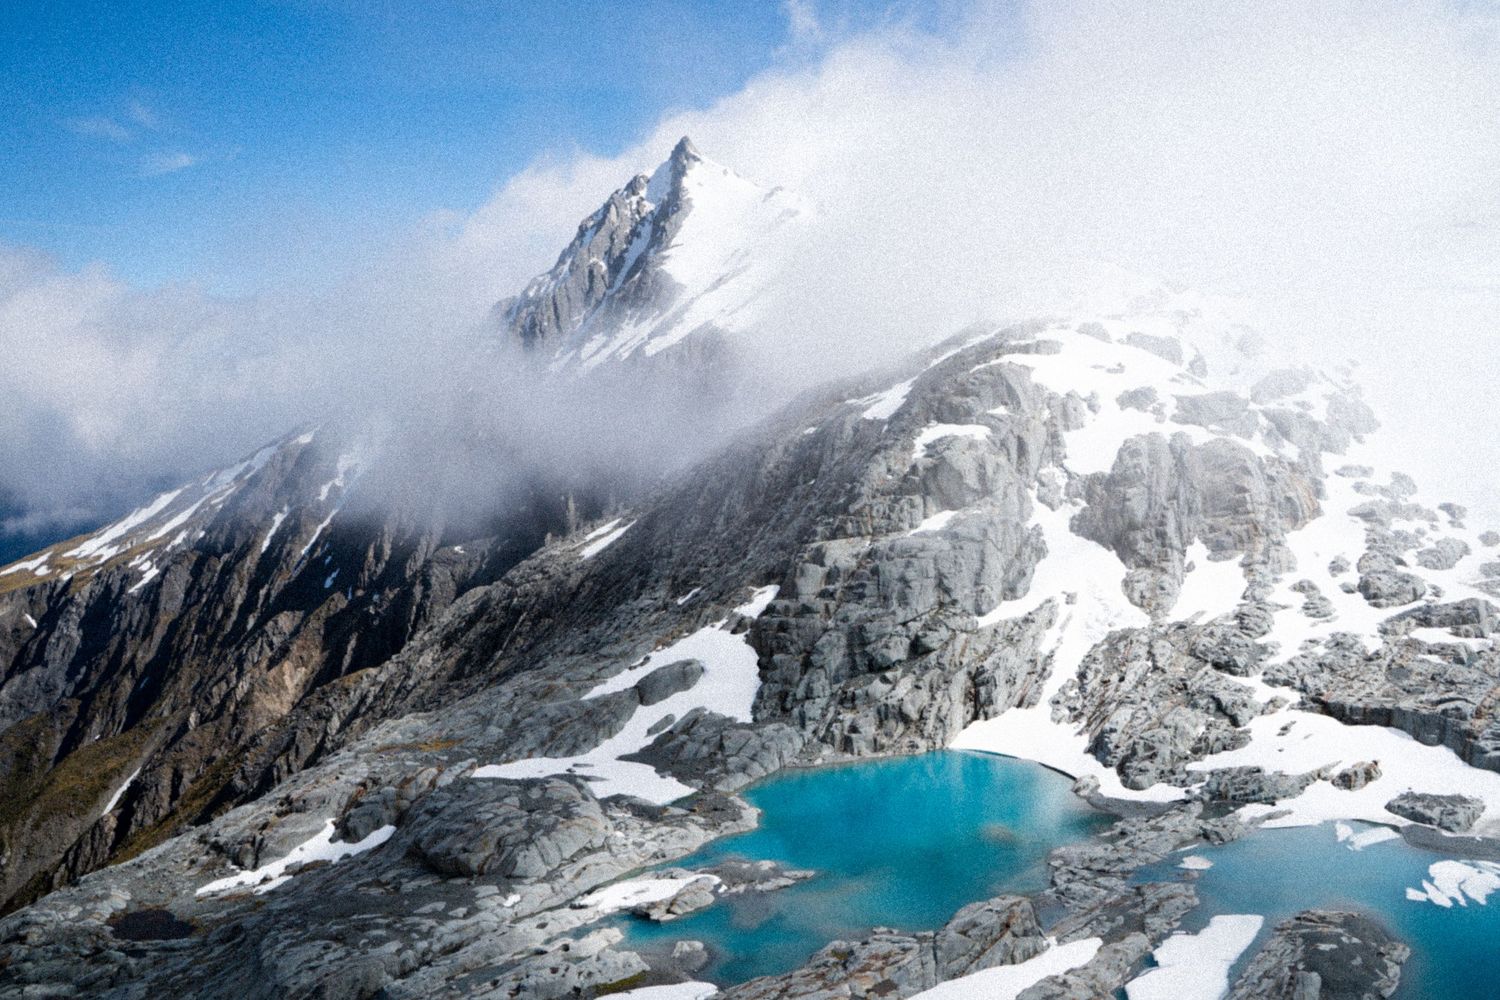
Below are the setting I used for images on a recent hike to Brewster Hut, and Brewster Glacier.
I also changed the colours so reds and oranges were more prominent, whilst the blue had a lighter hue.
The Benefits of Going "Faux-Film"
- Timeless Appeal: Faux-Film lends an air of nostalgia that resonates with viewers, evoking feelings of sentimentality and connection.
- Artistic Expression: It allows you to experiment creatively, infusing your work with a unique style that stands out.
- Storytelling: The vintage look can lend a sense of storytelling to your images, transporting viewers to a bygone era.
- Versatility: Faux-Film is versatile—it works well for a range of subjects, from portraits to landscapes, adding character to any scenario.
- Modern Convenience: While film photography requires specialised equipment and development processes, Faux-Film can be achieved using familiar digital tools. (And it'll save yourself the extra Kg's on a hike if you don't have to take two cameras!)
Embrace Your Inner Artist
In the world of photography, there's room for both digital and analog aesthetics. Faux-Film allows you to bridge the gap, bringing the nostalgic charm of film to your digital creations. By embracing this creative technique, you're not only crafting visually stunning images but also sharing stories that resonate deeply with your audience. So go ahead, dive into the world of "Faux-Film," and let your artistry flourish with a touch of vintage magic..
FAUX-FILM on BREWSTER HUT / GLACIER HIKE
This hike was breathtaking, with the perfect cloud coverage to create depth in the mountains without overtaking the sky. We didn't stay in the hut as it was full, but thankfully had our camping equipment as we were expecting it to be full. The following day we hiked to Brewster Glacier, and thankfully I didn't take a film camera with me as it was a hard hike and the extra kg's would have broken me!